Goal1 : Describe the different steps for connecting Magic xpi with Amazon S3 using a DotNet custom component
Goal2 : Describe general steps to develop a custom component
Prerequisite : Access to Amazon S3 with AccessKey, SecretKey, Region and Endpoint URL.
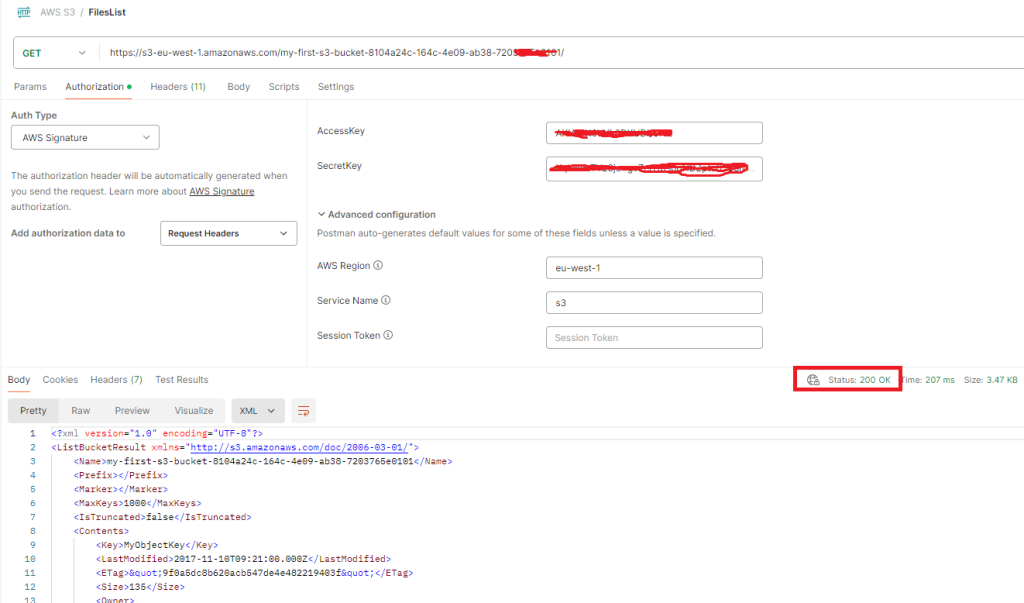
Check with postman that you can have access to Amazon service
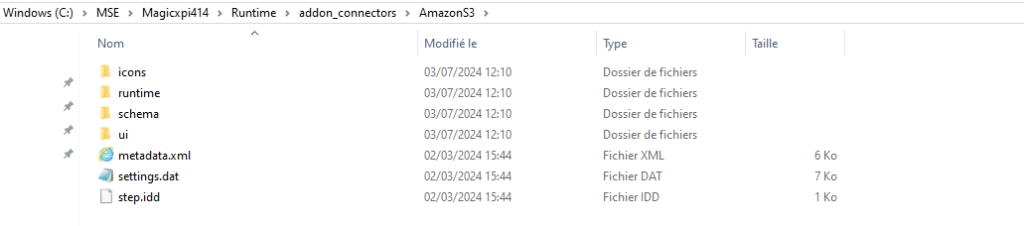
1/ Copy the custom component for Amazon S3 (AmazonS3) to the <Magic xpi installation directory>\Runtime\addon_connectors

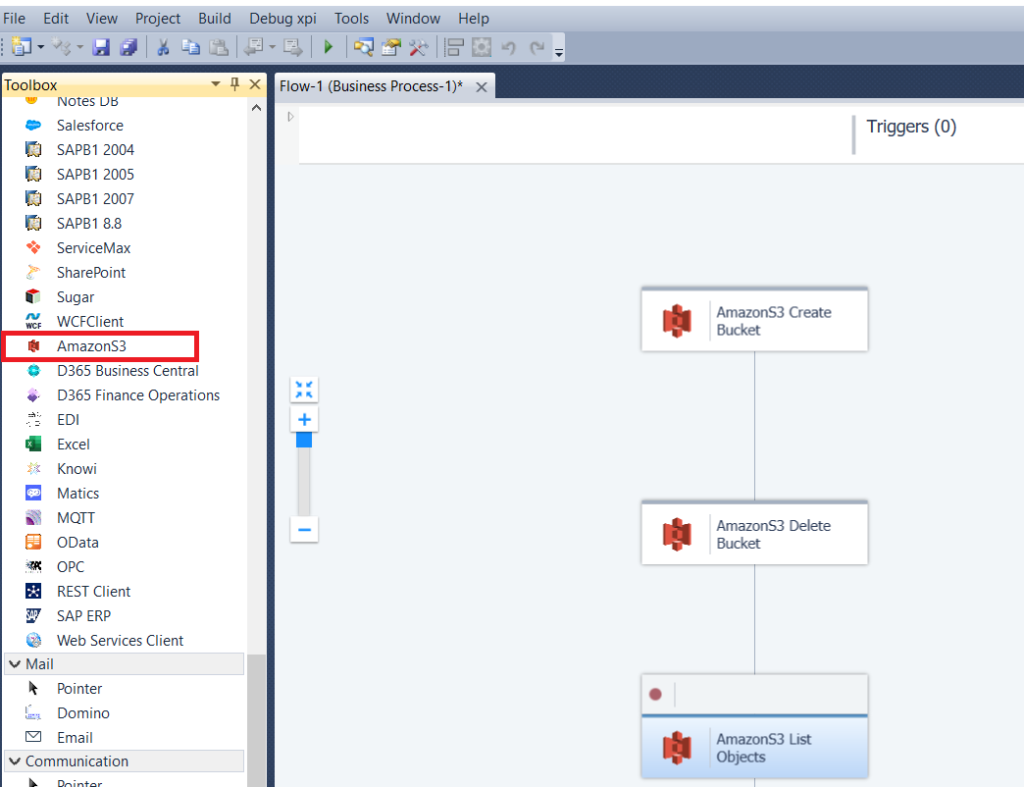
2/ Open the Magic xpi Studio, you should see the Connector AmazonS3 in the Toolbox repository
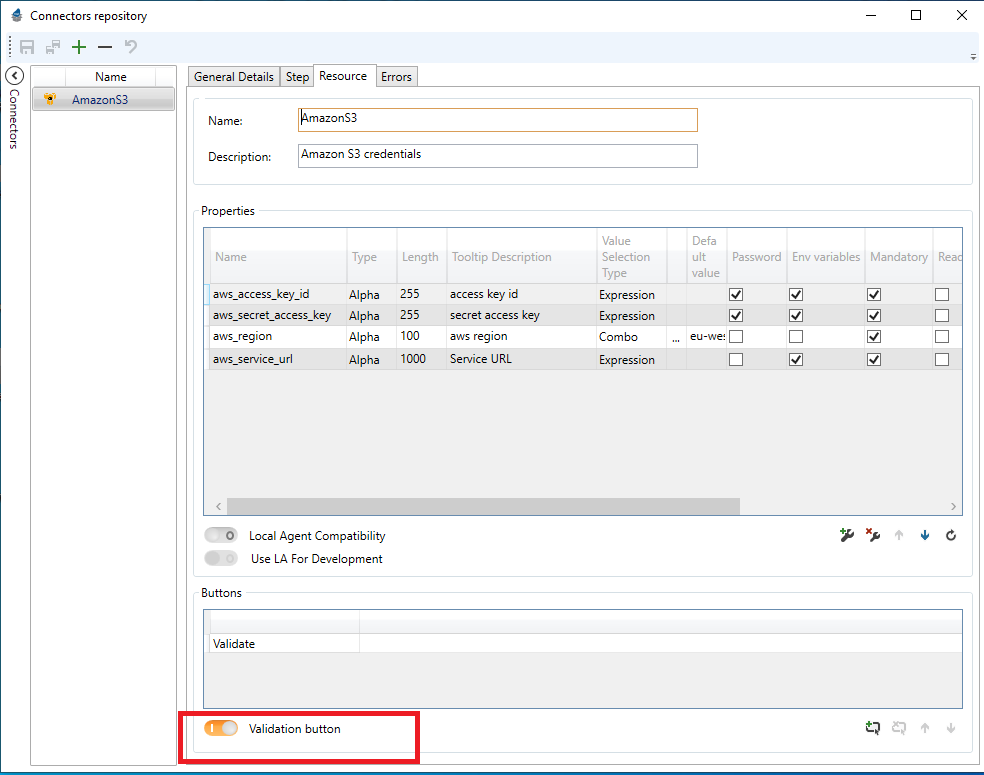
3/ Open the Magic xpi Resources repository and create an AmazonS3 resource
Set the credentials with the amazon S3 related informations
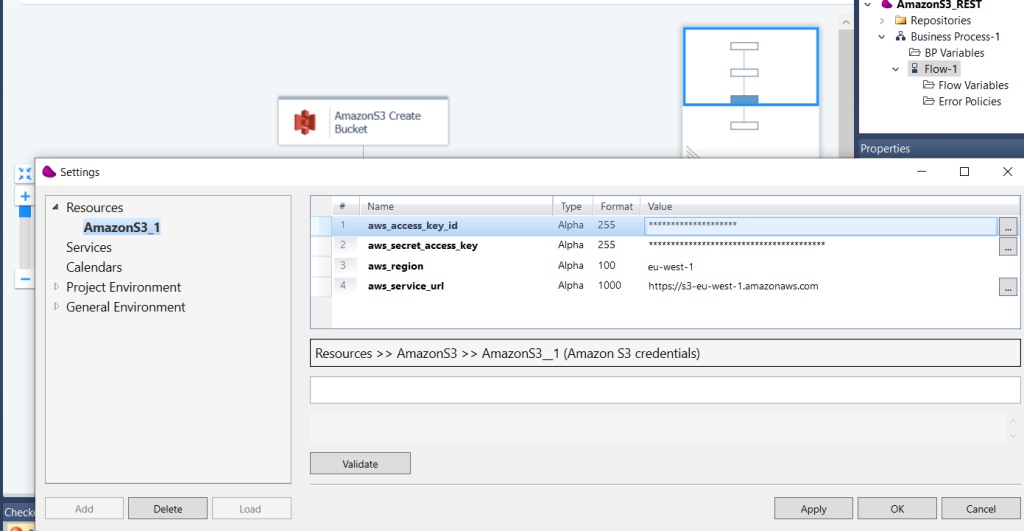
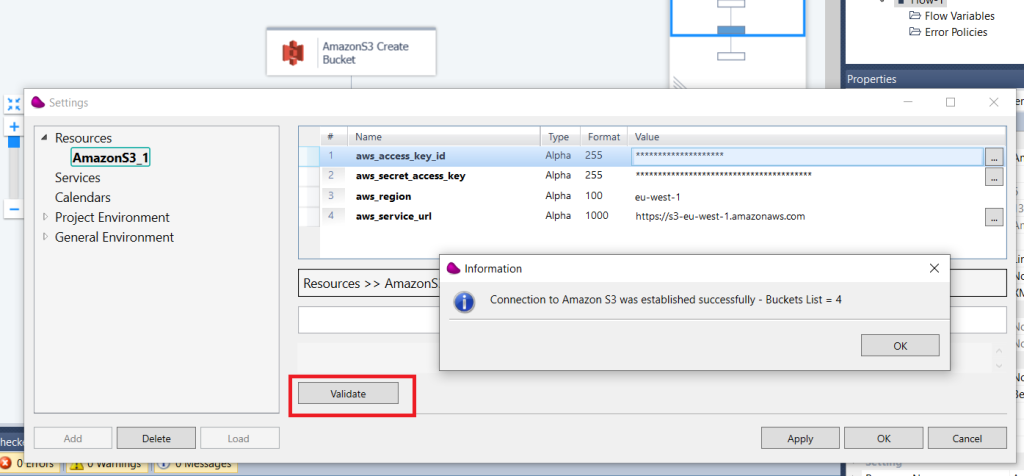
Click Validate, you should see a successfull message displaying the number of buckets
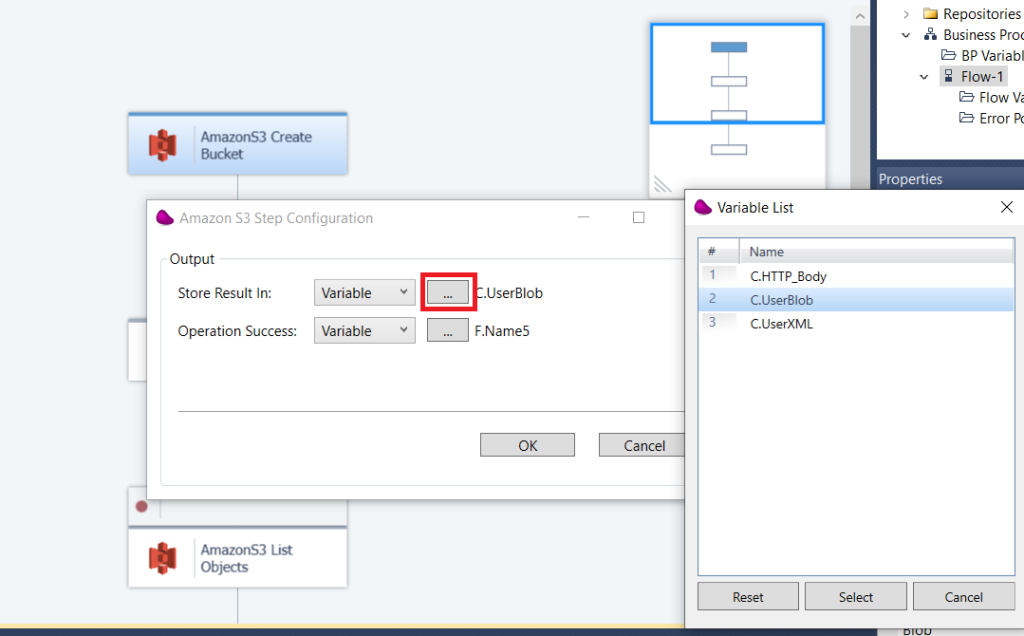
4/ Drag and Drop the AmazonS3 connector and right click to configure it
Catch the Store Result In in a Blob variable and press OK
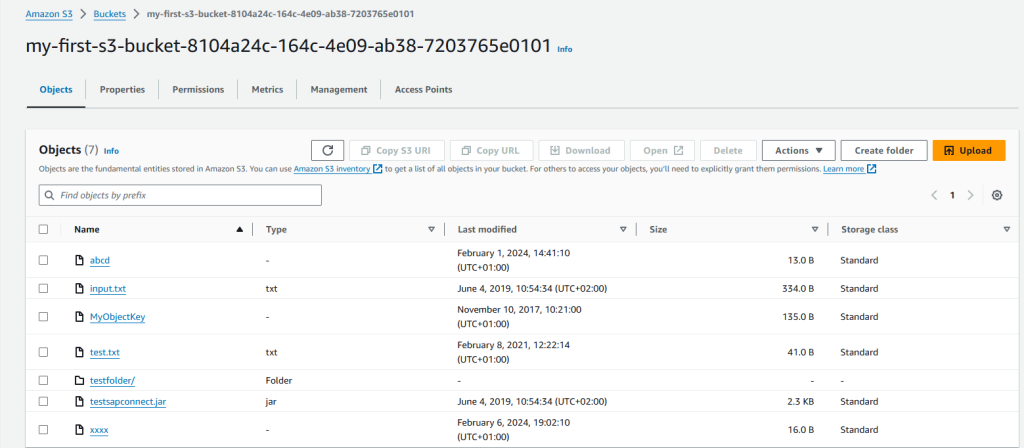
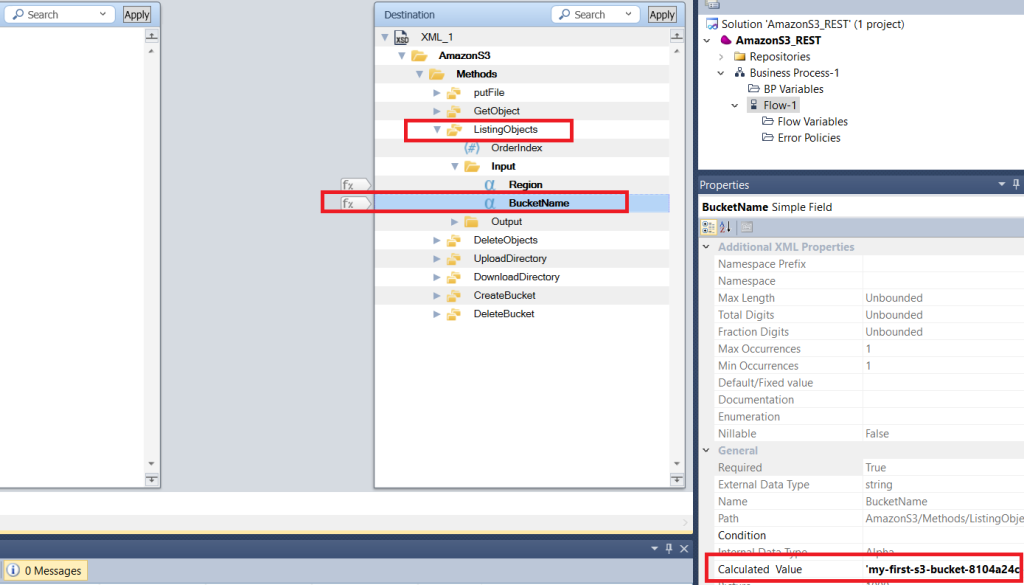
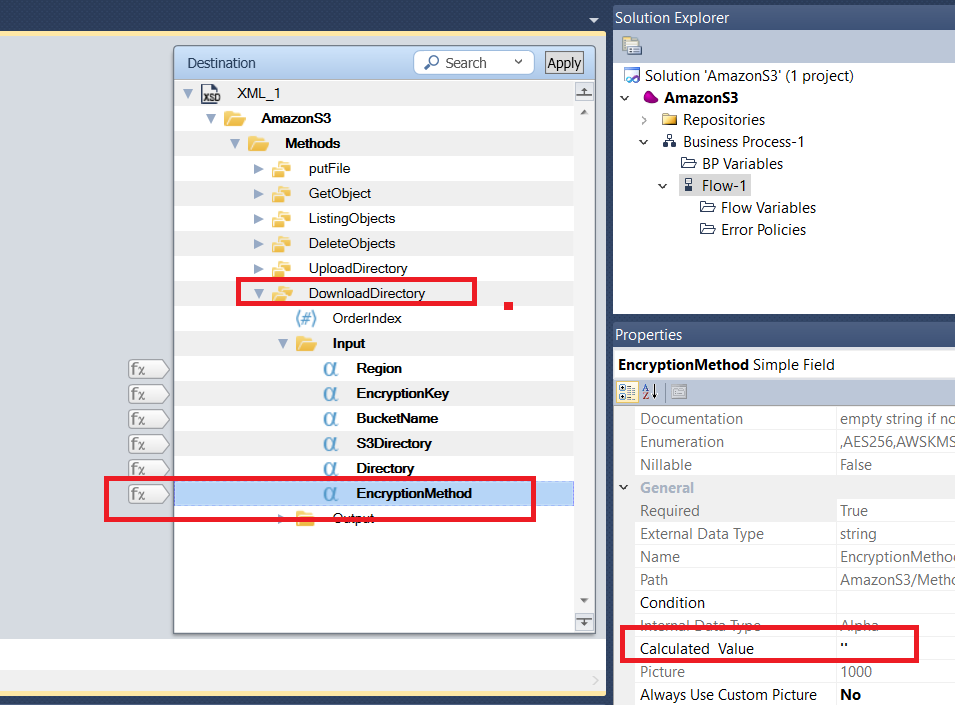
5/ If you want to list Objects in a Bucket, choose the Method « ListingObjects » and set the Region and the BucketName
!! For each method, you have to set all fields with a value (for empty value just enter 2 simple quotes)
6/ Run the Flow in Debug Mode and check the result in the C.UserBlob variable.
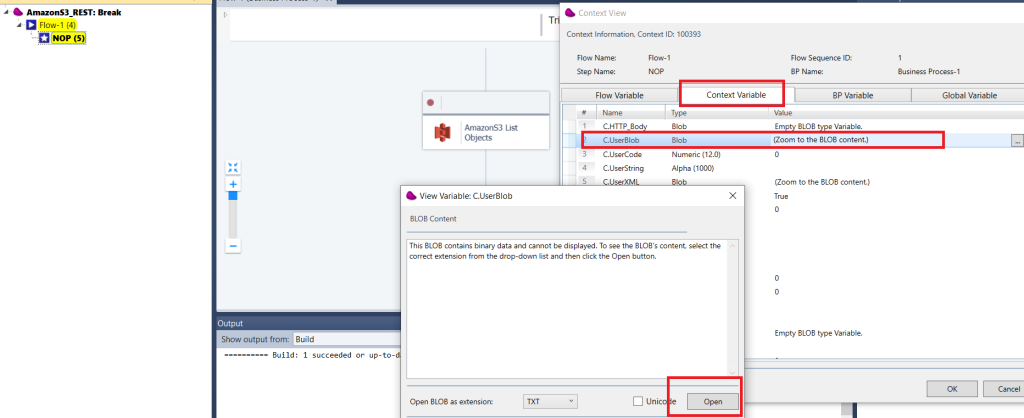
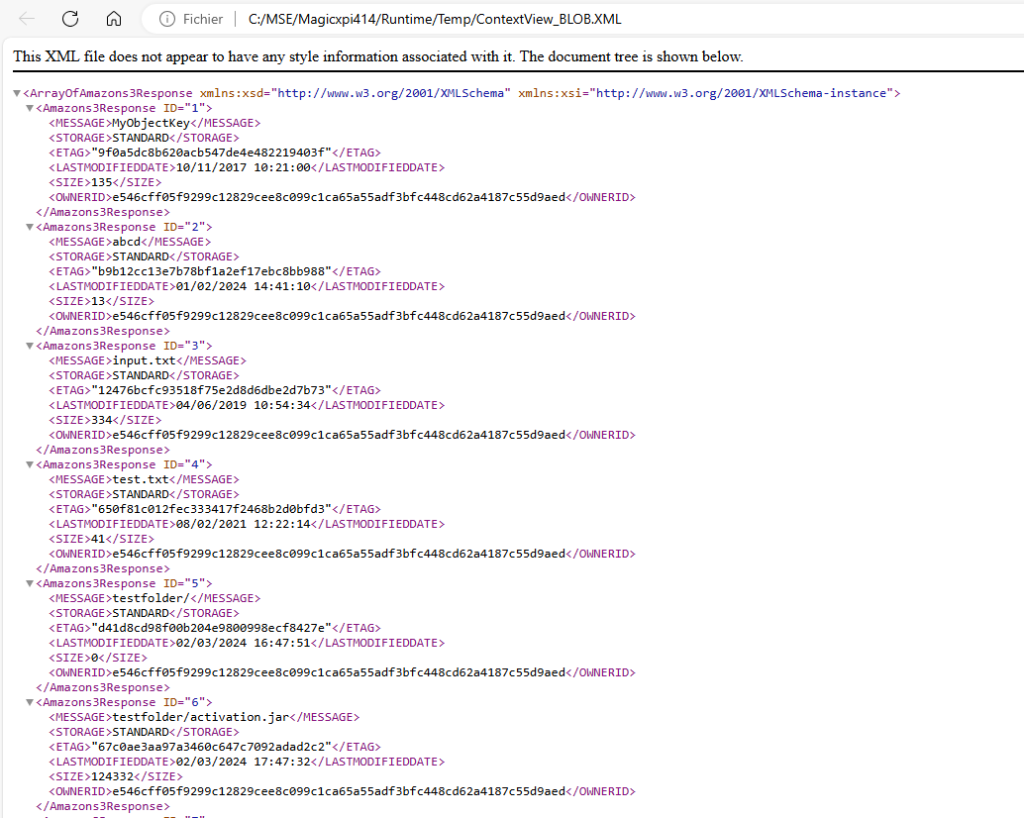
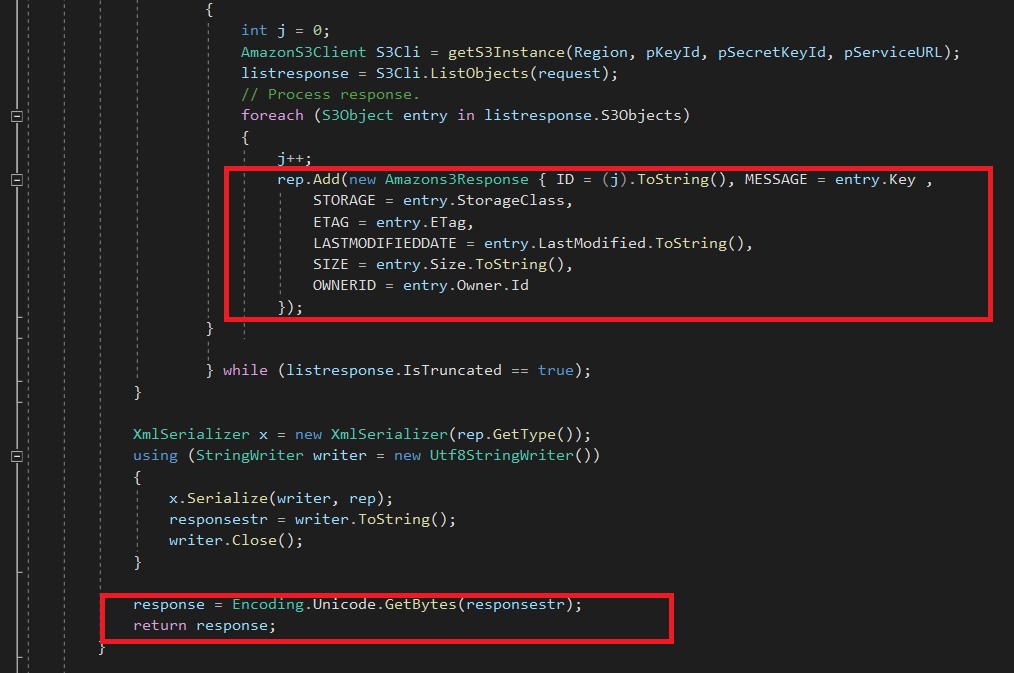
The response should be an Array of Amazons3Response including attributes of each object.
7/ The connector implements 8 methods (putfile, getobject, ListingObjects, DeleteObjects, uploadDirectory, downloadDirectory, CreateBucket, DeleteBucket)
8/ Next, i will describe the major steps to follow in other to create the connector.
You have to develop 2 projects one for the UI used in design mode and one for the Runtime. I’ll use Dotnet technology for both of them.
(*) you can use java for the runtime project.
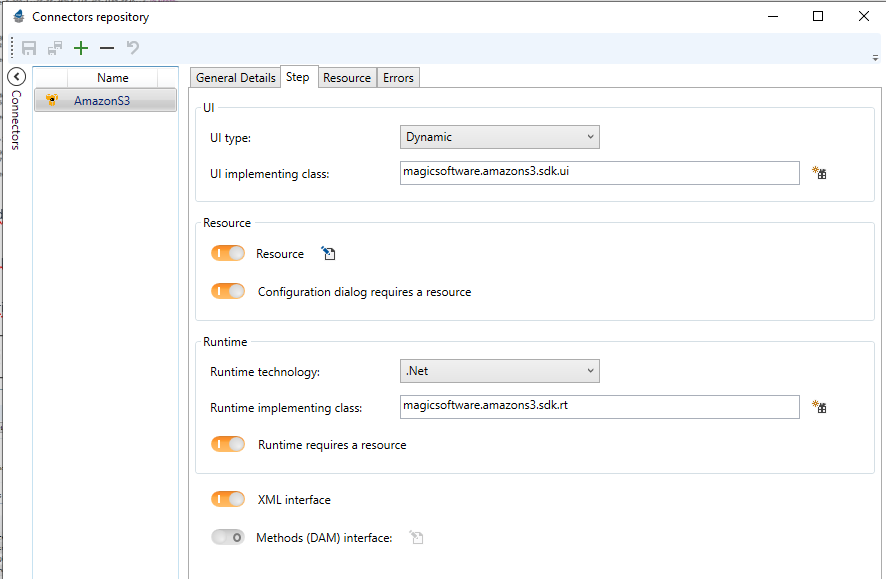
9/ Open The connector Builder and create all the informations to create the connector skeleton.
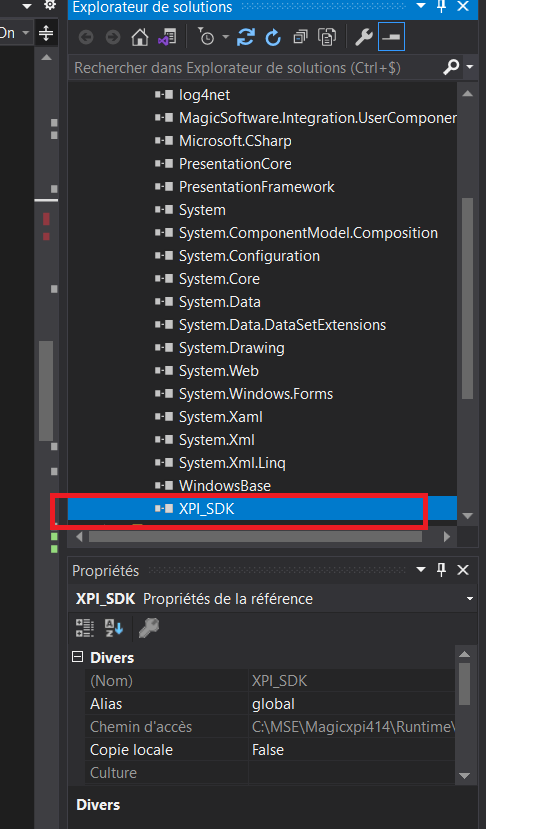
10/ Open the UI project with Visual Studio and load these assemblies
<Magic xpi installation>\Studio\Extensions\Application (iBolt.Common.dll, MagicSoftware.Integration.UserComponents.dll) and <Magic xpi installation>\Runtime (XPI_SDK.dll)

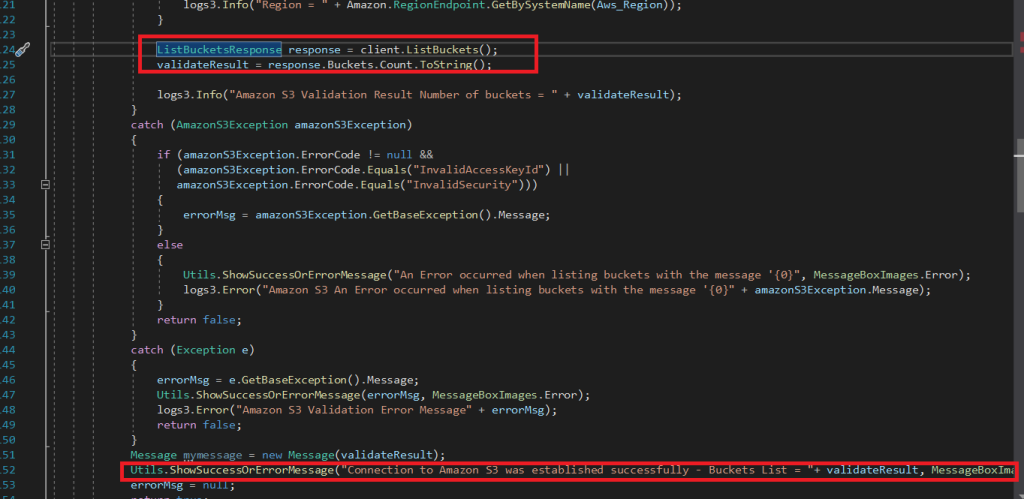
11/ The « ValidateResource » method is called when you click on the Validate Button in the resource repository
ResourceData is used to retrieve credentials from the resource repo.
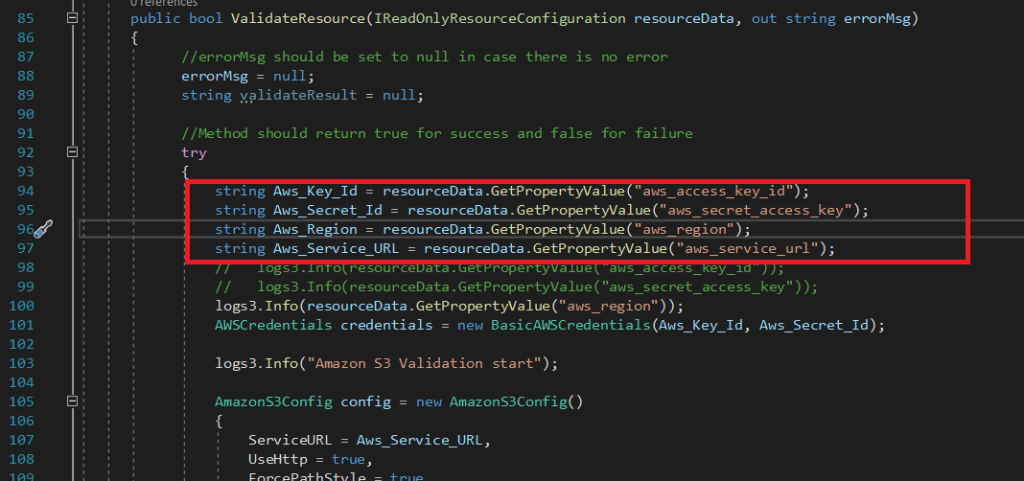
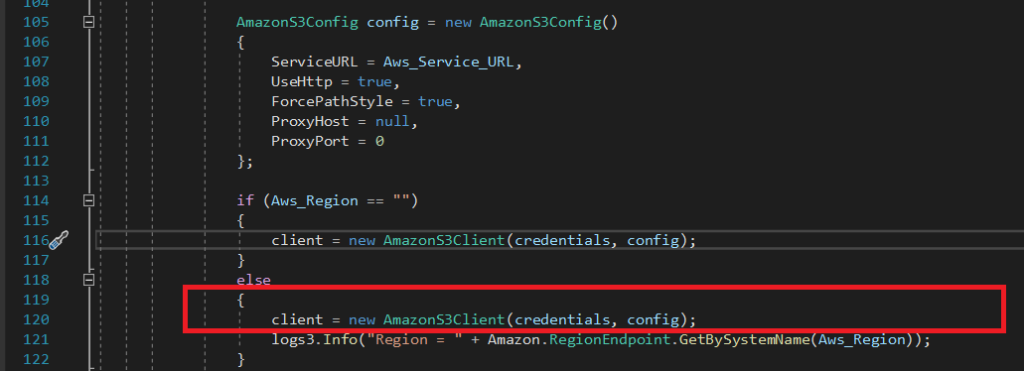
Create an instance of the Amazons3 client, list the number of buckets and display a successfull message if it’s ok.
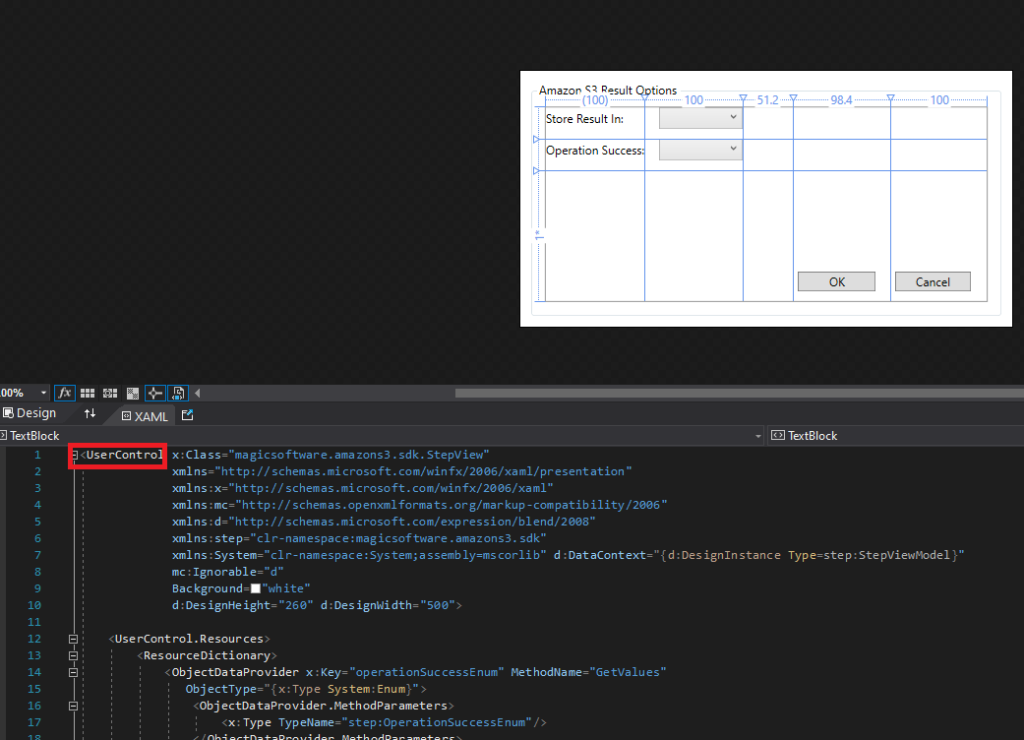
12/ Design the connector configuration screen.
The method « Configure » is called when you right click on the connector. You have to use an MVVM model and use XAML to design the screen
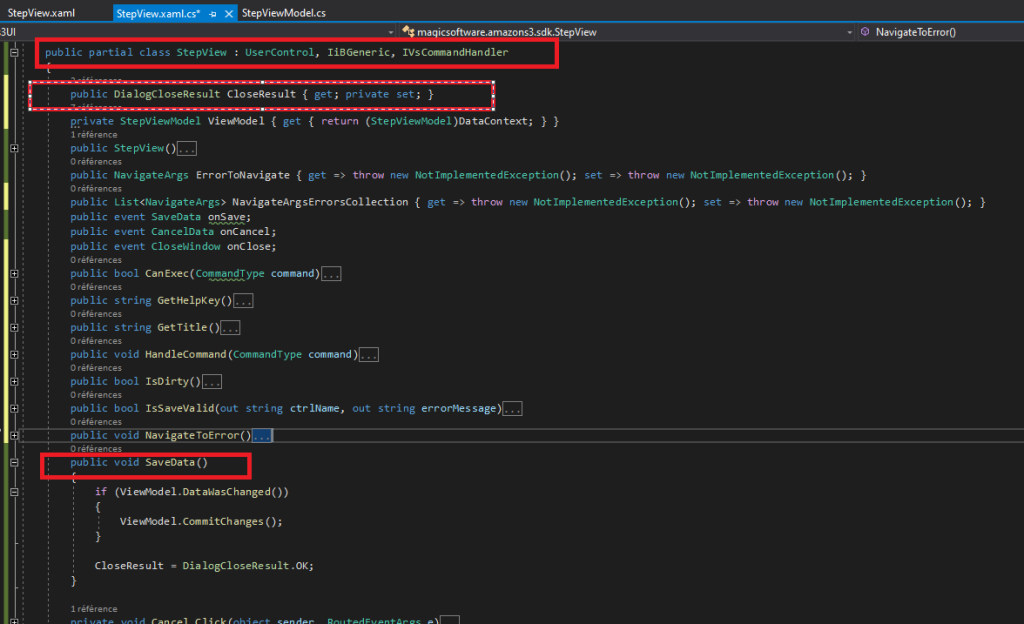
You should used a Class that implements a Magic xpi UserControl
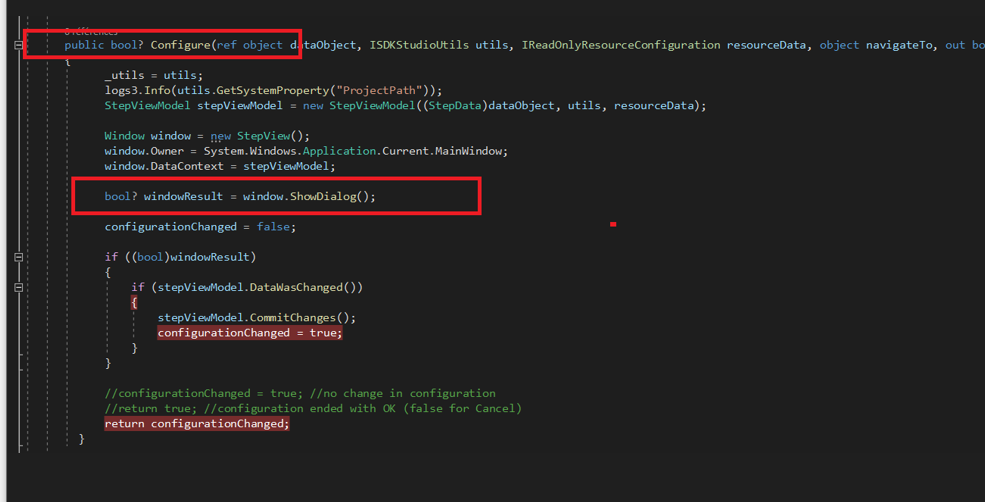
In the code behind, you have to use the methods below
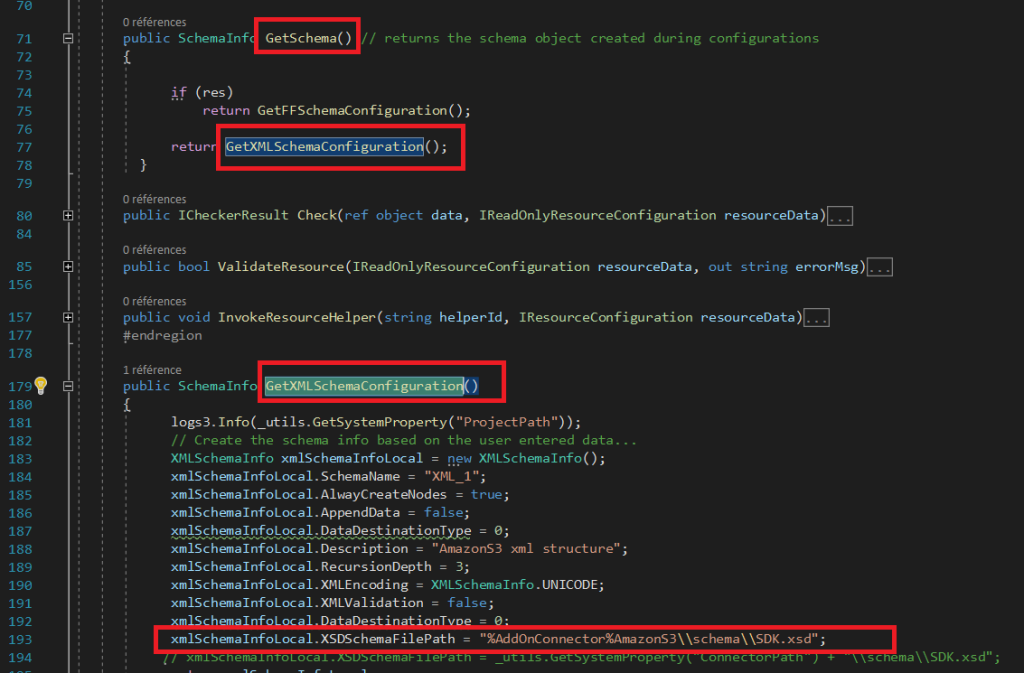
13/ In design Mode, when you click OK on the connector, the « GetXMLSchemaConfiguration() » is called from « GetSchema() » and then the xsd file opens in the mapper
14/ Build the solution and copy all files (dll, …) in the <Magic xpi installation dir>\Runtime\addon_connectors\AmazonS3\ui\lib

15/ Now Open the Runtime Project with Visual Studio
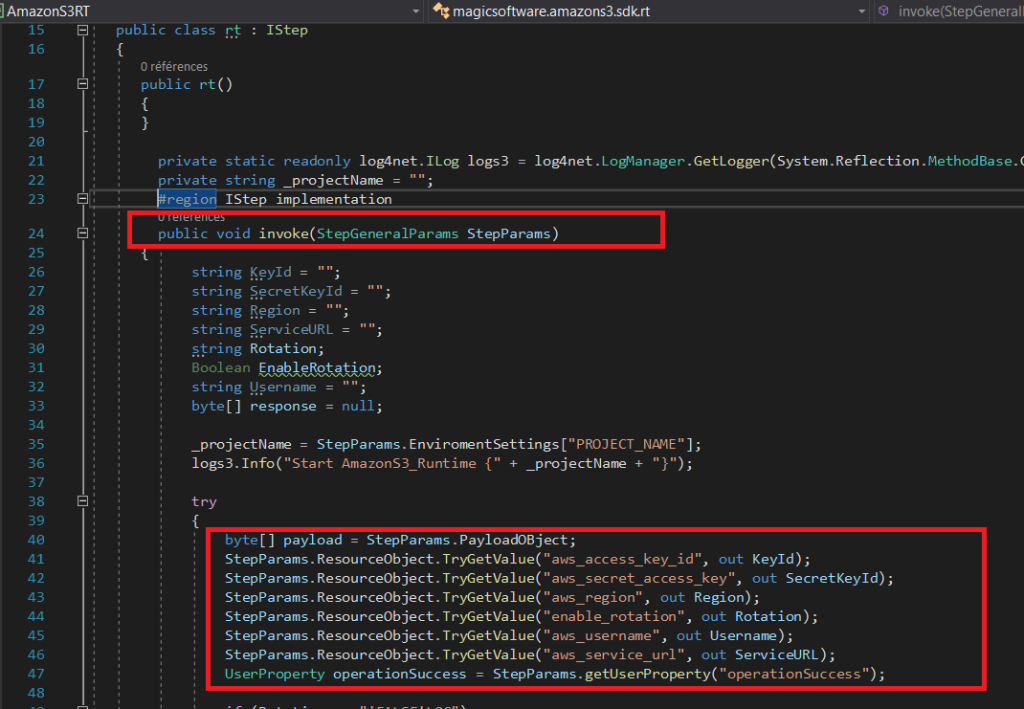
In Runtime mode, « invoke » method is called. Payload is retrieved from the variable StepParams.PayloadOBject and the resource from StepParams.ResourceObject.TryGetValue
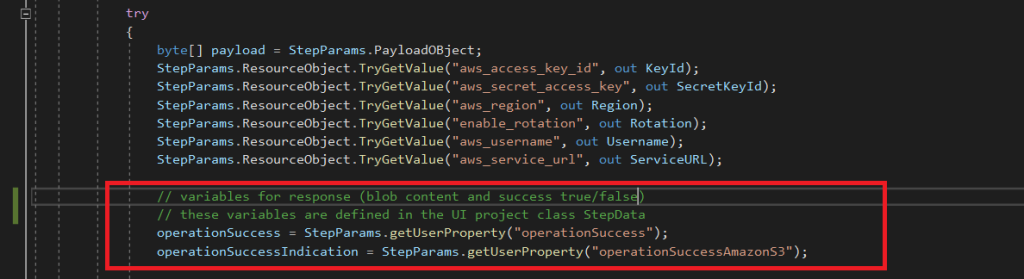
Define 2 variables to catch the response and the success indication (variables « operationSuccess » and « operationSuccessAmazonS3 » are retrieved from StepData Class declared in the UI project)
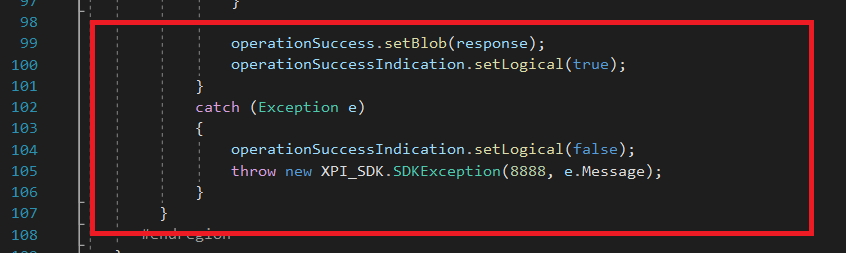
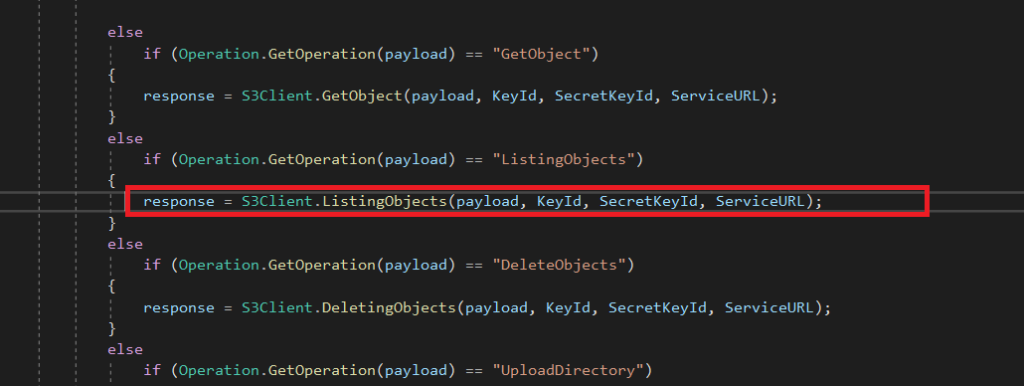
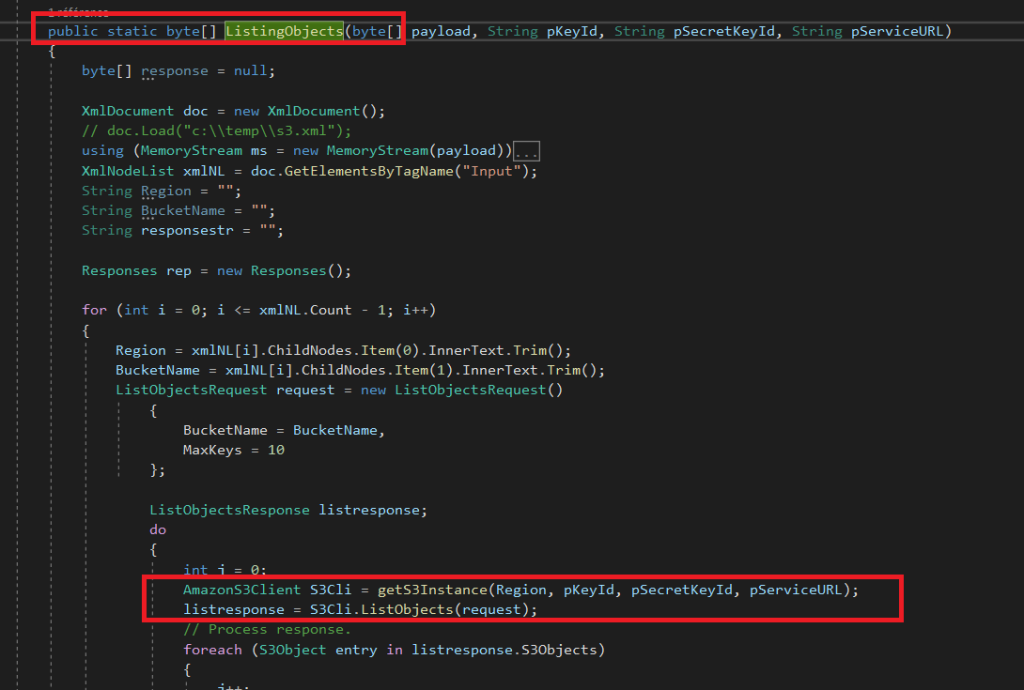
16/ According to the received payload, call to right method from S3Client class and pass the payload and aws credentials.
17/ Serialize in XML the response
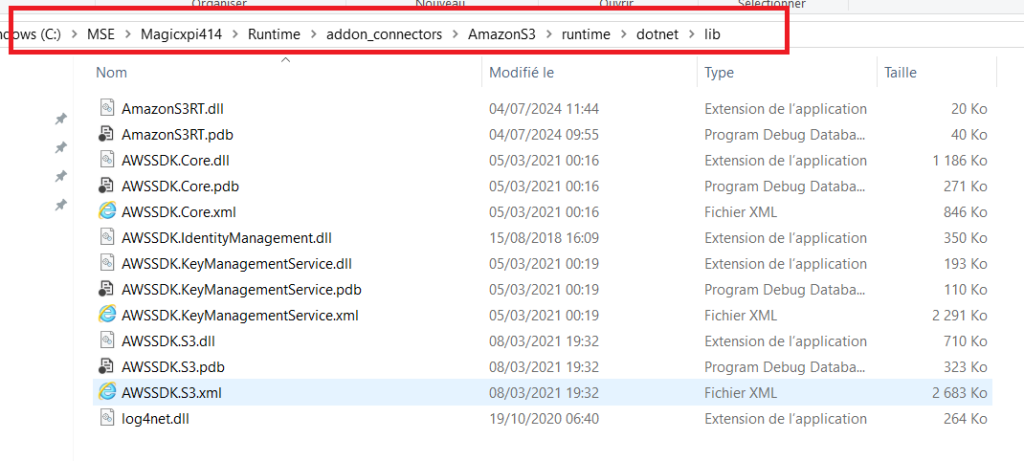
18/ Rebuild the solution and copy the related files into <Magic xpi directory>\Runtime\addon_connectors\AmazonS3\runtime\dotnet\lib
19/ The Connector and source file is available here (for Magic xpi 4.14) : https://france.magicsoftware.com/share/amazons3.zip
20/ Documentation (Magic xpi Connector Builder.pdf and AWS SDK for .NET V3 API Documentation (amazon.com))