Goal : Configure OAuth2 Authentication for Magic xpi RESTful API Service using Microsoft identity platform Application2Application
1/ Sign on your azure portal and register an application.
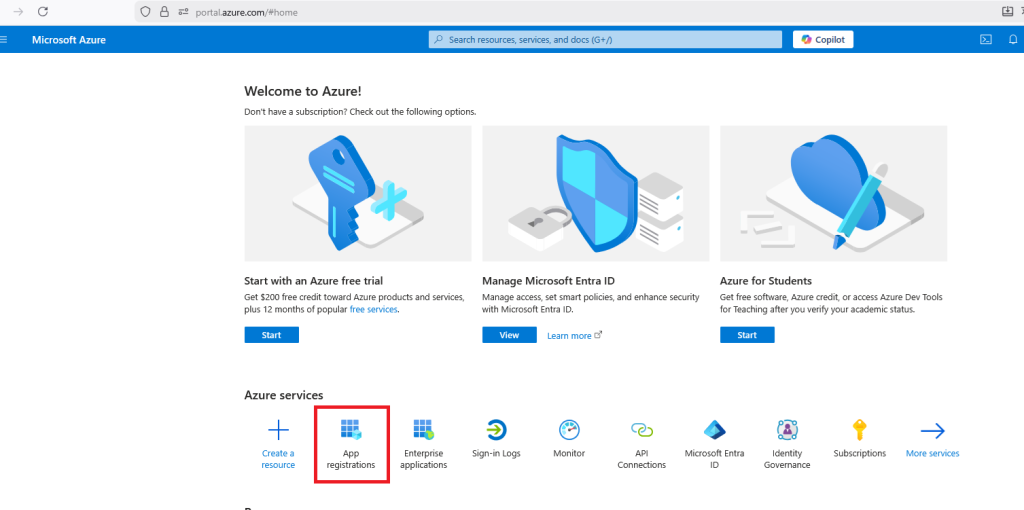
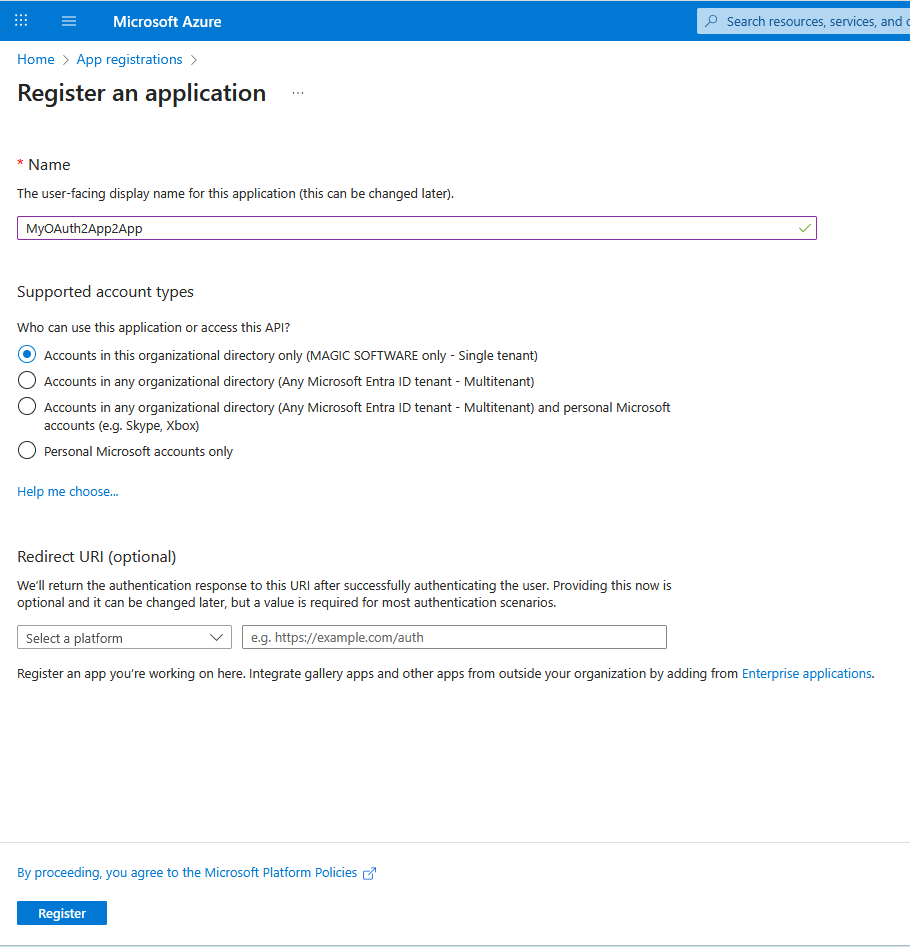
Register a New app with these information for example « MyOauth2App2App » (no need to define a Redirect URIs)
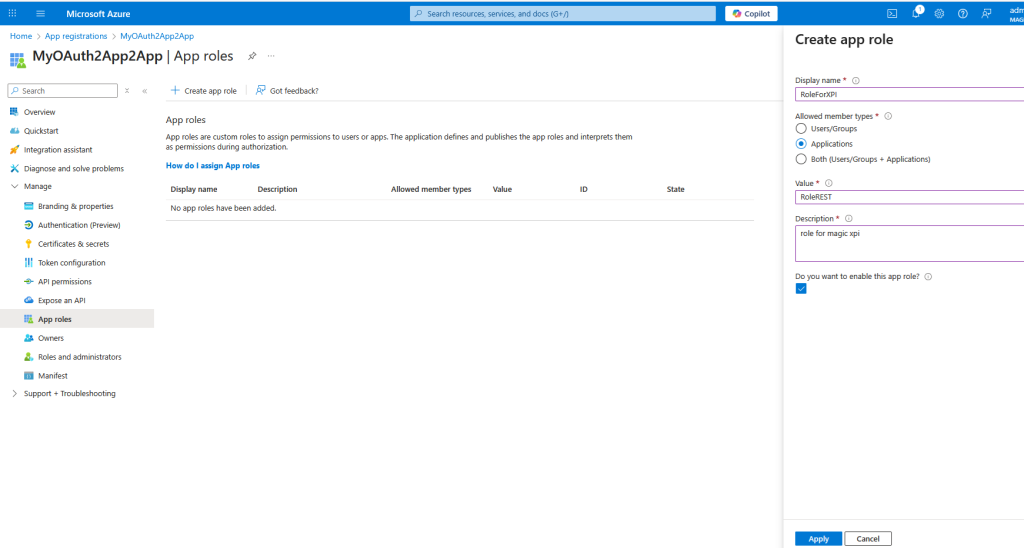
Click on App roles and create an app role
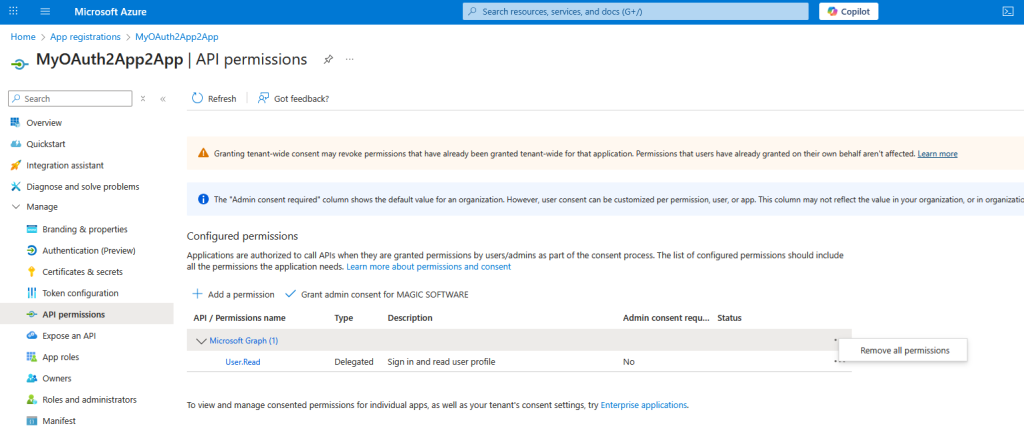
Click on API Permissions and remove Microsoft Graph (User.Read)
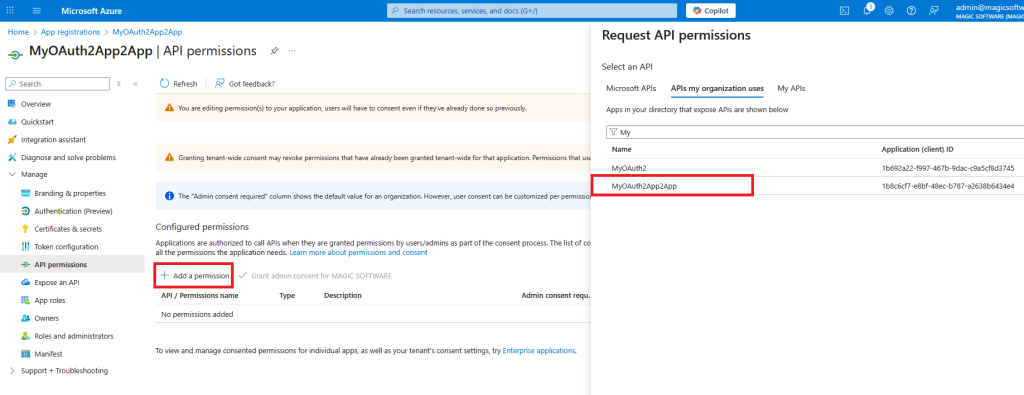
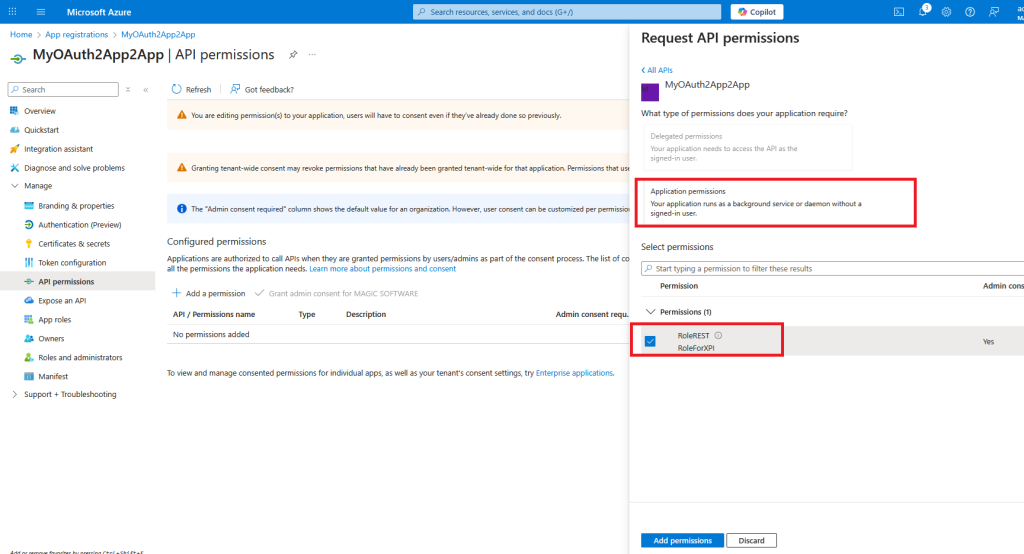
Click on Add a permission and choose your API and app role
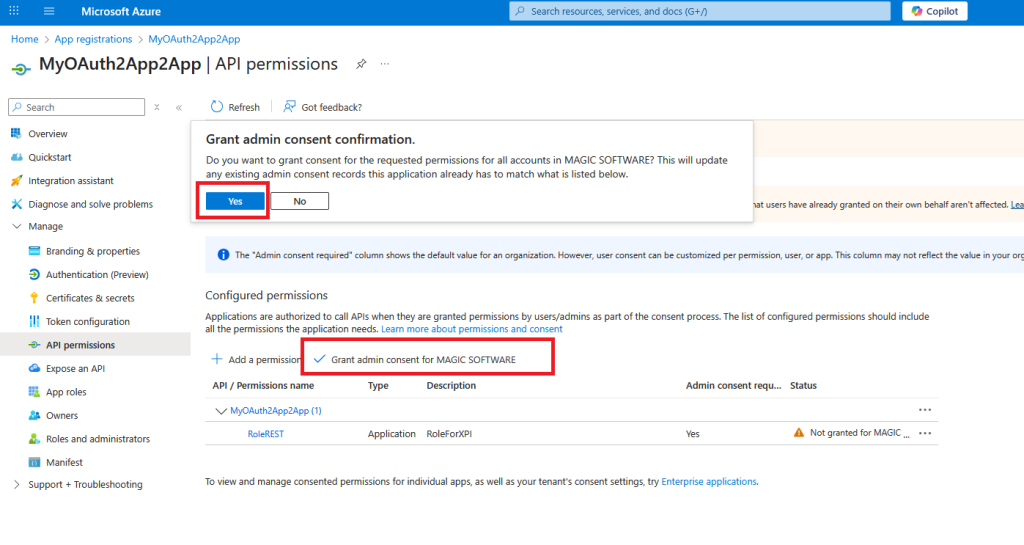
Grant admin consent
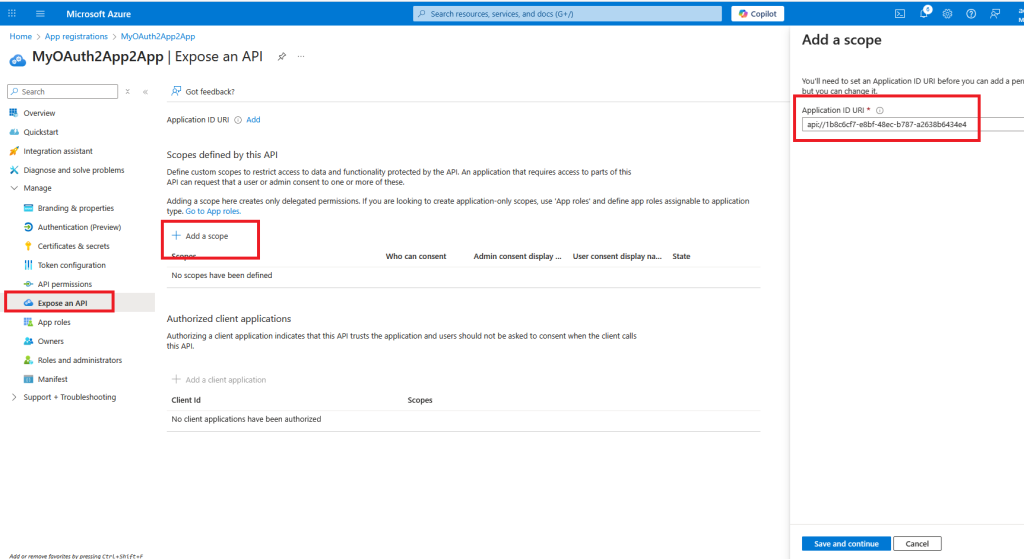
Click on Expose an API and add a scope, keep the value and Click Save and continue
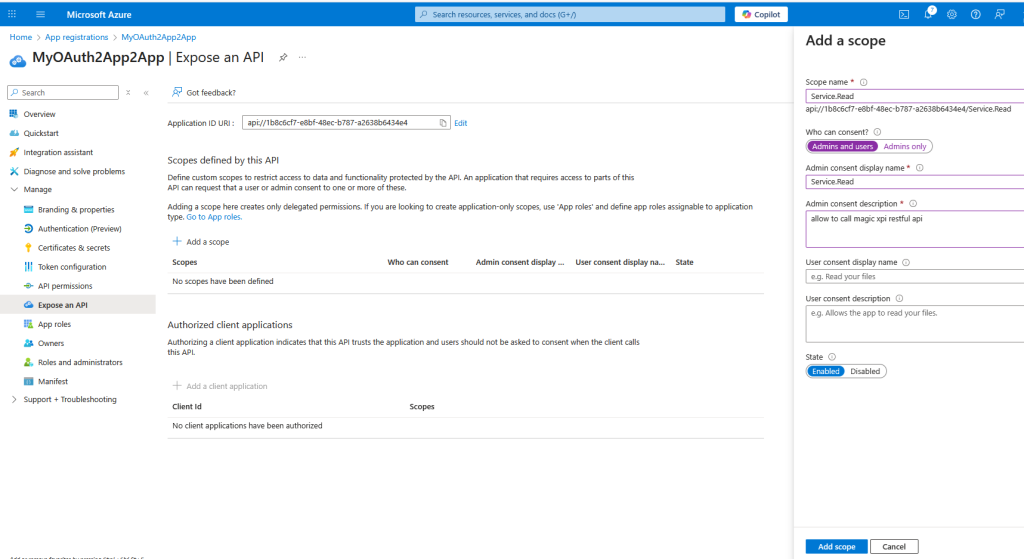
Set the scope name, admin consent display name and description then click Add scope
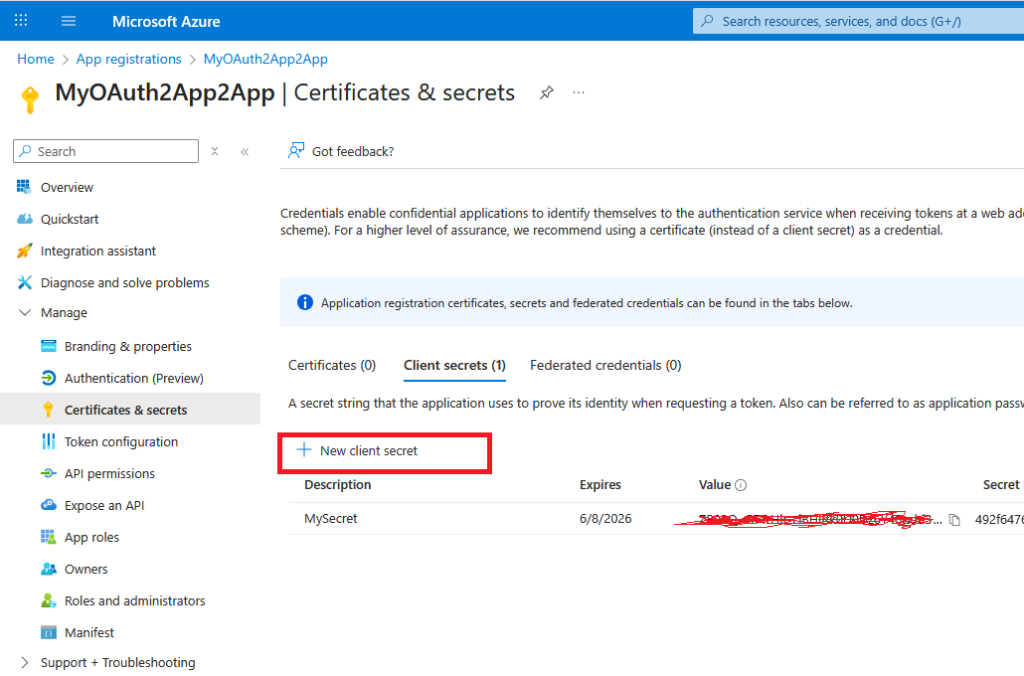
Click on certificates and secrets and create a new secret and keep your secret in a safe place.
Click on Overview =>Endpoints and copy the token v2 URL, your client id and tenant id

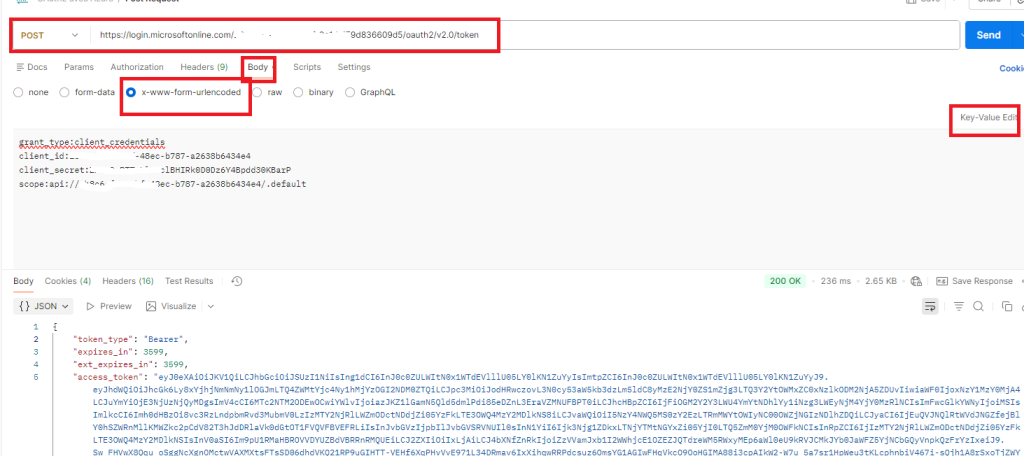
2/ Check with Postman that you can get an access token like below
make a POST on your token URL and pass in the body (clientid, client secret, grant type and scope) in urlencoded format
Set the scope with : api//<yourclientid>/.default
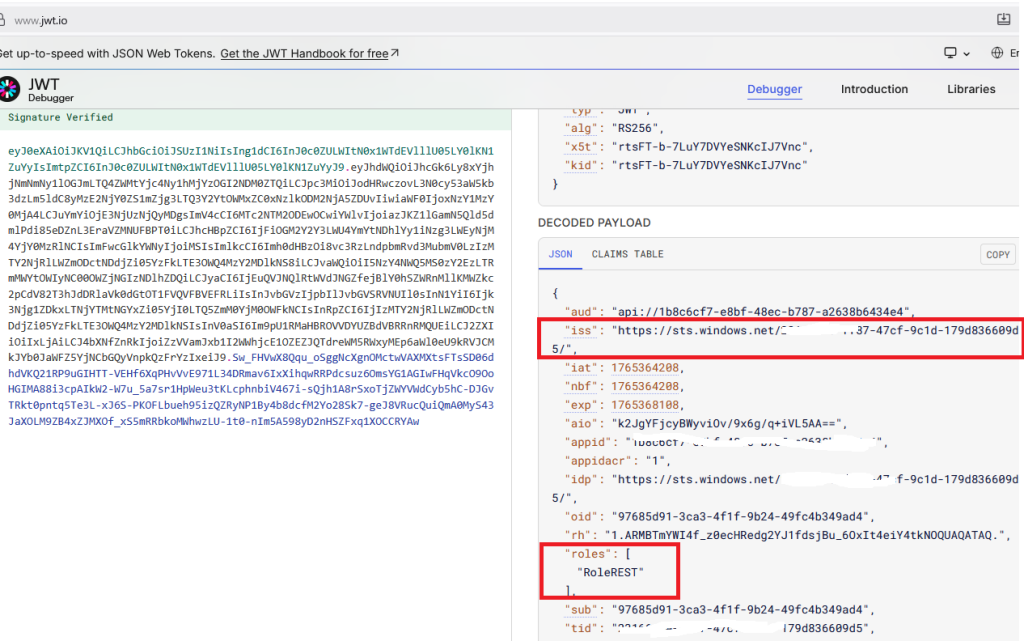
3/ Check in the token that you get « RoleREST » (roles) and the issuer (iss)
Use : https://www.jwt.io
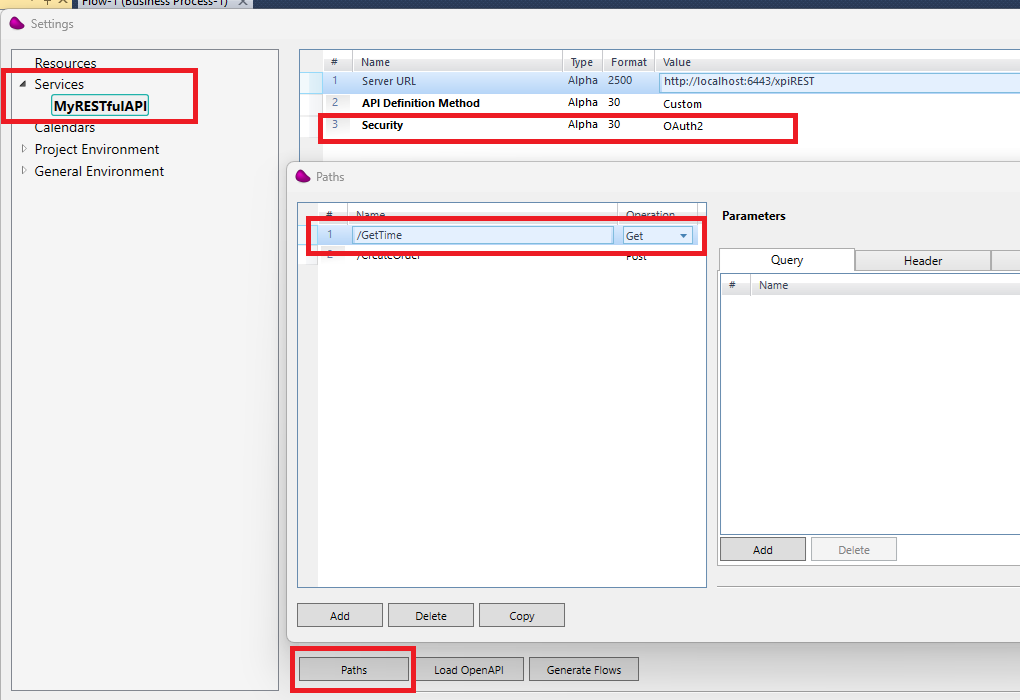
4/ Create an xpi project and create a RESTFul API service like below
(*) In my example, i use 6443 for the apache/tomcat port (can be change in the server.xml file in the apache conf directory)
Create GetTime path
5/ Create a new flow and use a RESTFul API connector in the trigger area
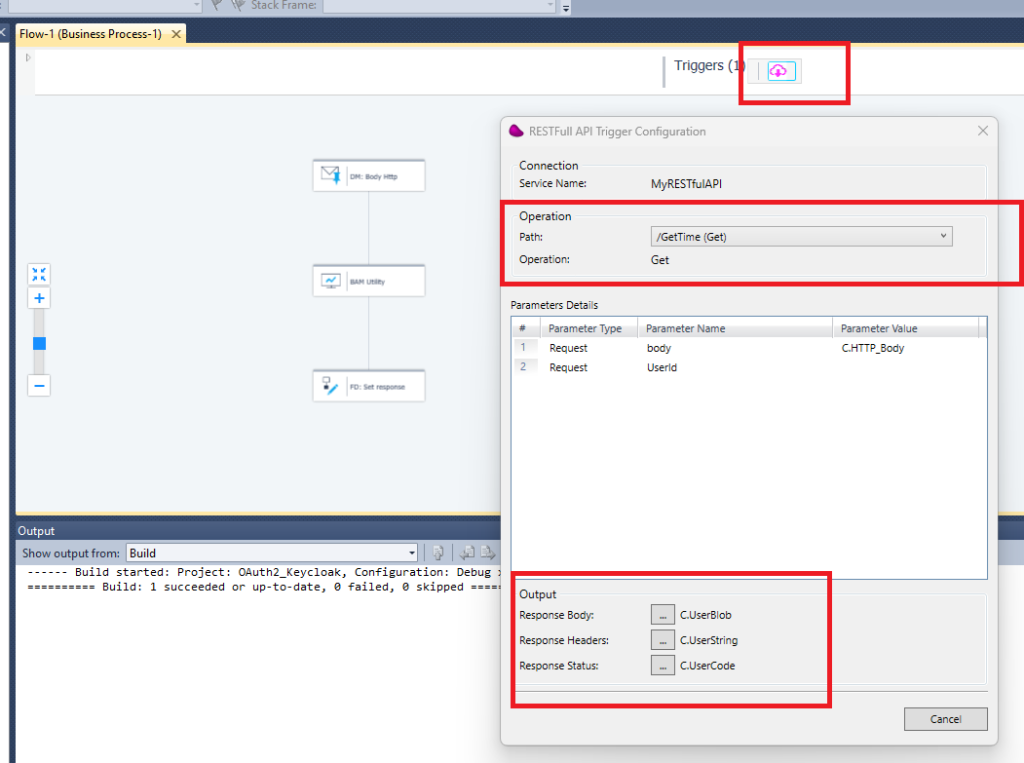
In the last step use a Flow Data to, update C.userblob variable with a simple json containing the time (‘{« time »: »‘&TStr (Time (),’HH:MM:SS’)&' »}’) and C.usercode with 201.
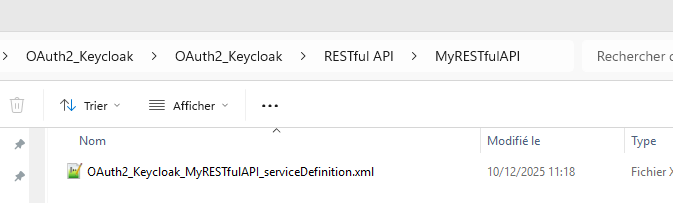
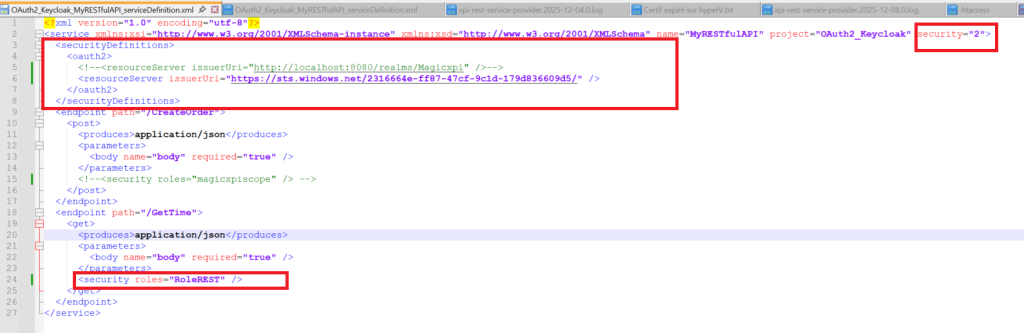
6/ Open the XML service definition file of your RESTFul service under your project directory
(ex : <Magicxpi installation directory>Runtime\projects\OAuth2_Keycloak\OAuth2_Keycloak\RESTful API\MyRESTfulAPI)
Add the oauth2 resource server in the securityDefinitions
Use the iss value from the token (step 3) for the issuerUri for the tag <resourceServer>
Add a security role (« RoleREST ») (step 3) for the endpoint you want to protect for the tag <security>
7/ Copy the war file (xpiREST.war) from your installation directory (ex: <Magicxpi installation directory>\Runtime\addon_connectors\RESTfulAPI\servicefiles to your webapps apache directory (ex: <Magicxpi installation directory>\Runtime\apache-tomcat\webapps)
!! Use the last version of the war file
8/ Start your apache server (startup.bat) from your apache directory (ex : <Magicxpi installation directory>\Runtime\apache-tomcat\bin) using command line (Admin mode)
9/ Copy the service definition file from step6 to directory « rest-services » of your apache/tomcat

10/ Start your magic xpi project
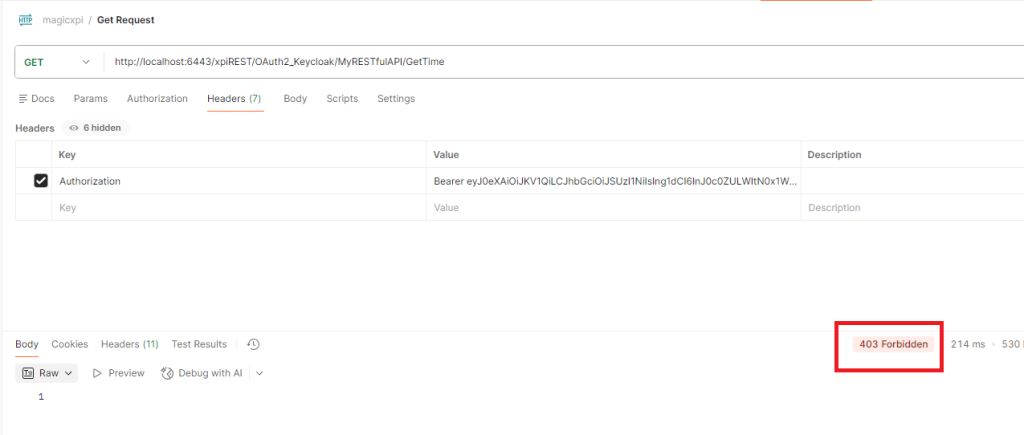
11/ Use Postman to call Magic xpi service and use the bearer token you got from step 2/
Set the Authorization header with the Bearer token
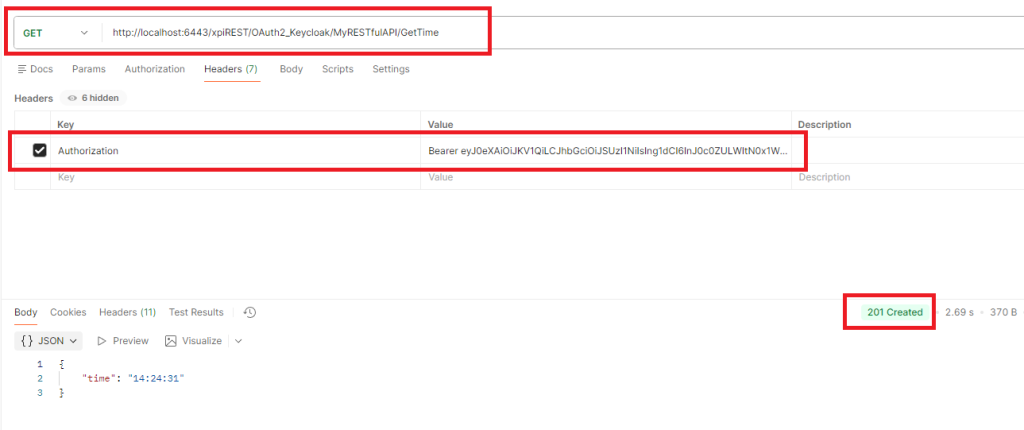
You should receive status 201 with the time value
12/ Set a wrong role in the service definition file in your apache directory
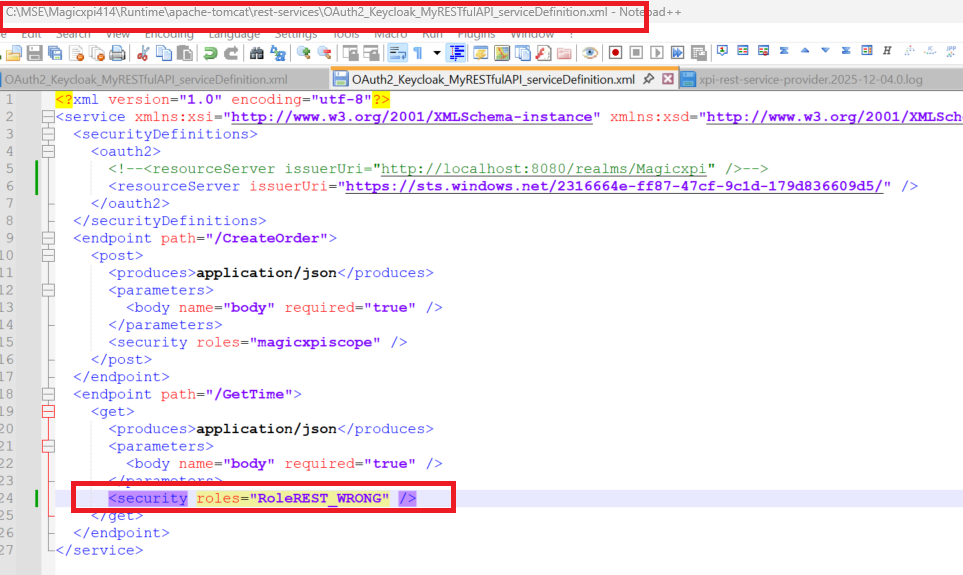
If you call again the service, you should get error status 403 Forbidden