Goal : Expose Magic xpi RESTFul API service through an MCP Proxy Server
Prerequisites :
- fastmcp, httpx, pyyaml
- my server.py example without role management (https://france.magicsoftware.com/share/server.zip)
- Magic xpi RESTFul API Service OpenAPI yaml file with a Magic xpi project up and running
- Apache tomcat running with port 6443
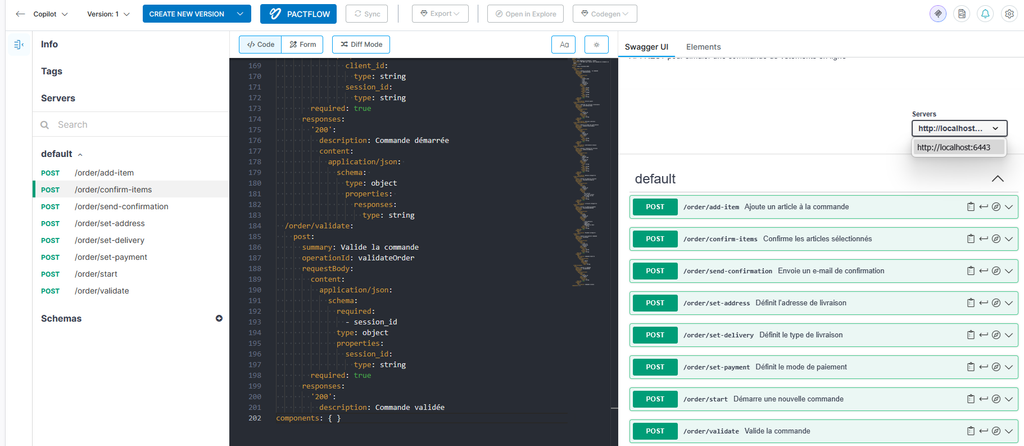
1/ Generate your yaml file that corresponds to your Magic xpi endpoints
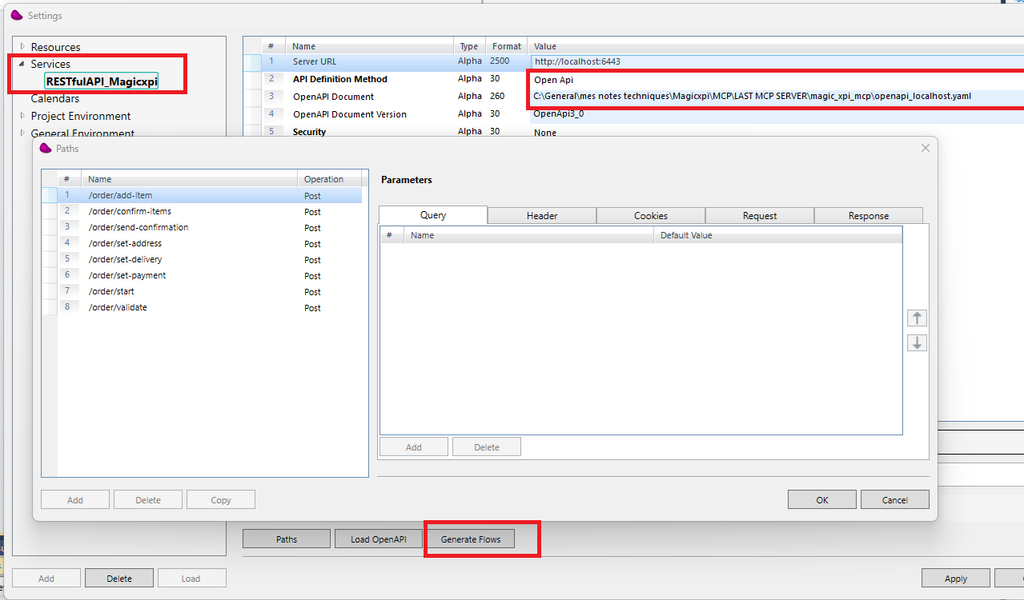
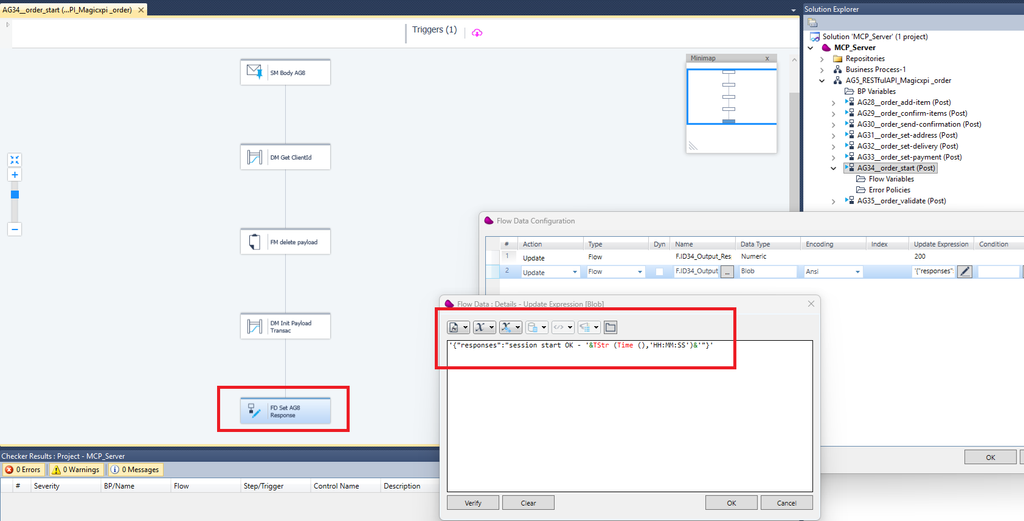
2/ Load and generate the Magic xpi Flows inside Magic xpi studio
3/ Customize with a simple logic the order/start flow (for testing)
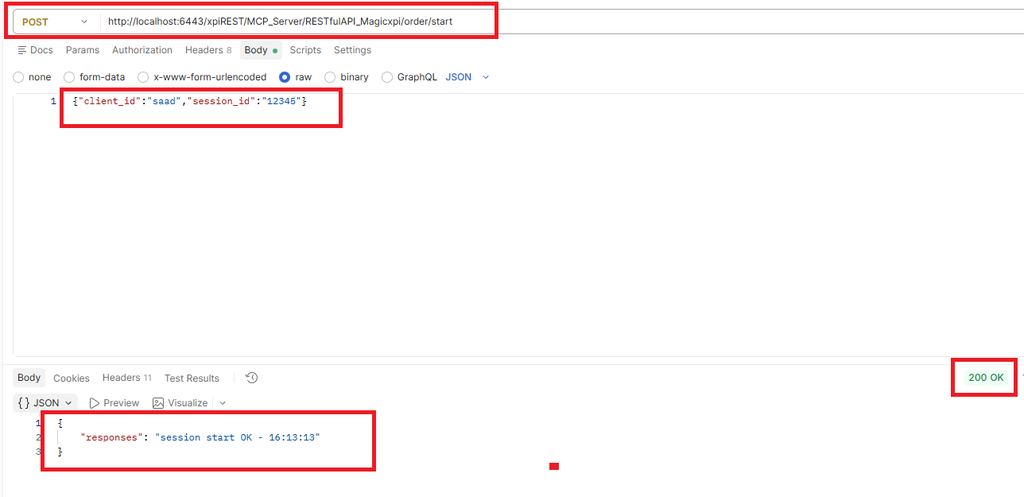
4/ Endpoints Check with Postman
Start the Magic xpi project and the Apache server with the correct service contract
5/ Create folder : C:\MCP\magic_xpi_mcp
copy these files in this directory (openapi_localhost.yaml, README.md, requirements.txt, server.py)
requirements.txt :
fastmcp>=3.2
httpx
pyyaml
6/ Python verification (over 3.10) :
python --version7/ Install dependencies and checks
pip install -r requirements.txt
//***** verification
python -c "import fastmcp, httpx, yaml; print('OK - fastmcp', fastmcp.__version__)"
Check that the server loads correctly the yaml file (default openapi_localhost.yaml) : python server.py
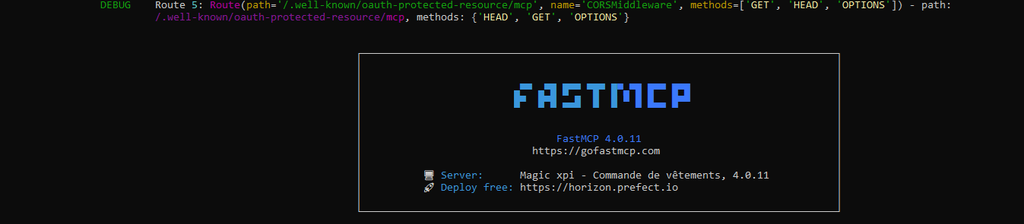
Press CTRL ^C
8/ Declare you mcp server inside Claude
Add this json portion inside your claude_desktop_config.json
"mcpServers": {
    "magic-xpi": {
      "command": "python",
      "args": [
        "C:\\MCP\\magic_xpi_mcp\\server.py"
      ],
      "env": {
        "XPI_BASE_URL": "http://localhost:6443/xpiREST/MCP_Server/RESTfulAPI_Magicxpi"
      }
    }
  },
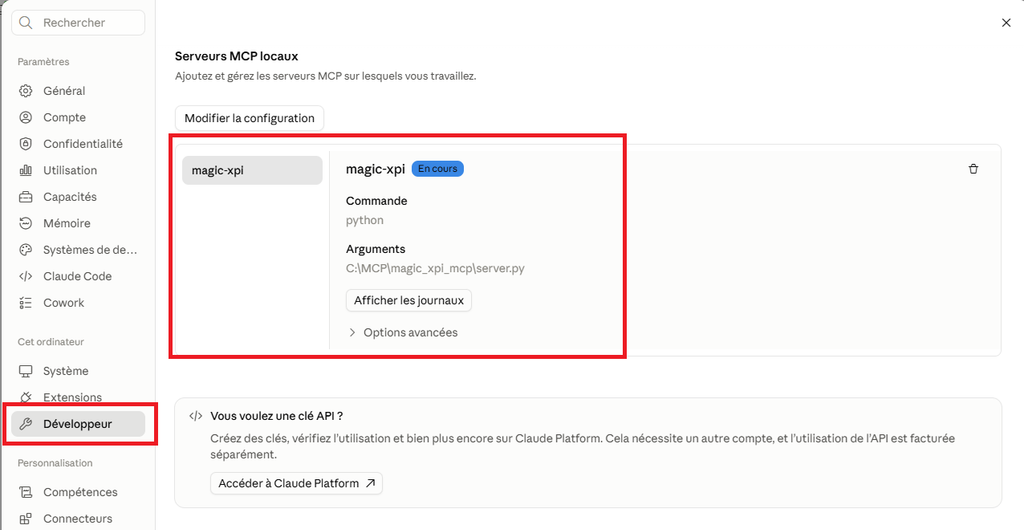
File => Settings => Developer (modify configuration)
Restart completely your Claude Desktop, you should see your magic xpi mcp server
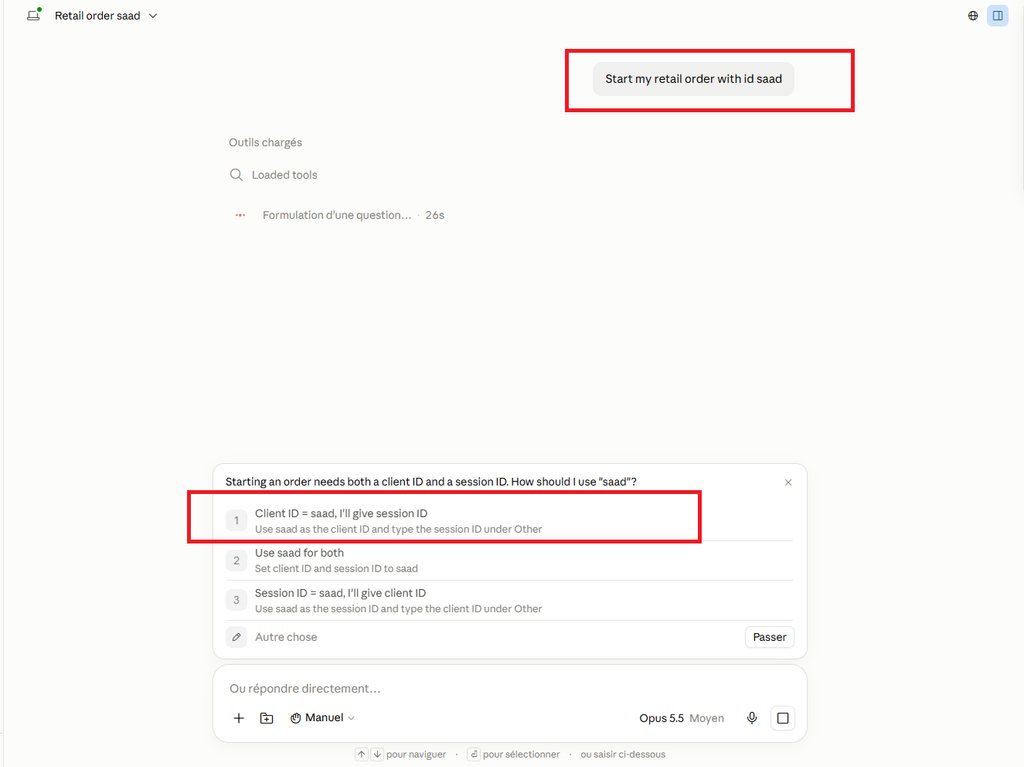
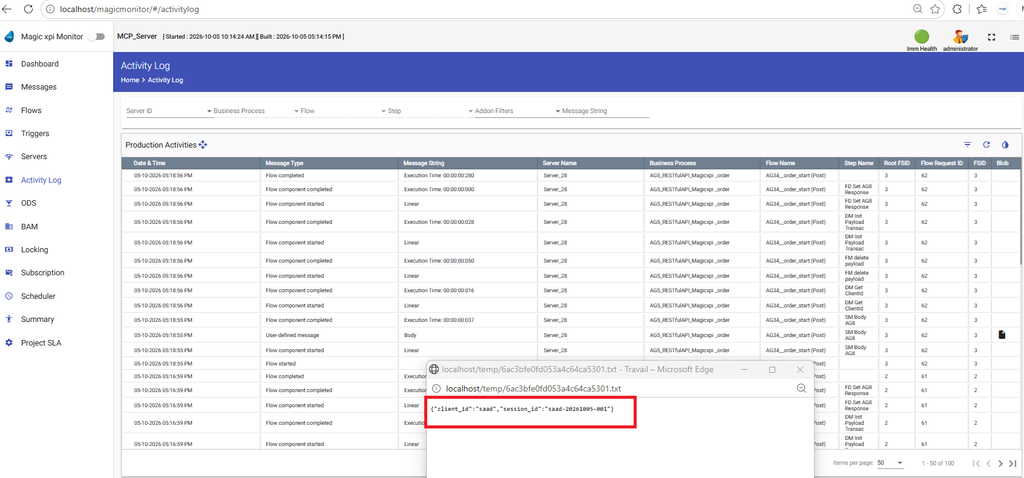
9/ test with Claude code or Claude chat

10/ You can implement a role mechanism in other to authorize specific users for specific actions.
For doing this, you need an identity provider such as AWS cognito, Keycloak, Microsoft Identity Platform, …
If you use AWS cognito for example and want to test it locally, you need to define :
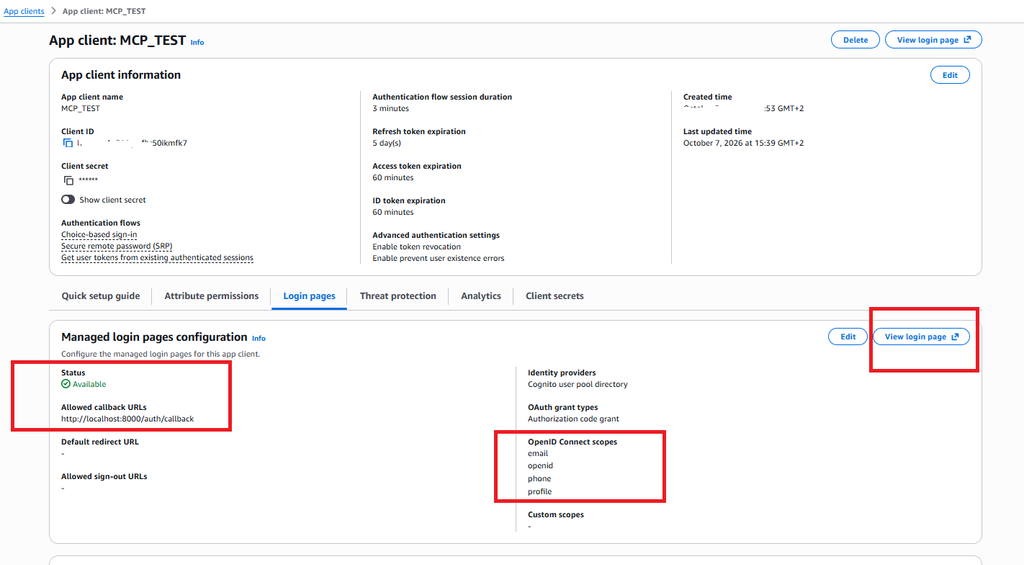
- an app client (choose traditionnal web app) with an URL call back (http://localhost:8000/auth/callback)
- associate a login page (aws cognito-idp create-managed-login-branding –region eu-west-1 –user-pool-id eu-west-1_XXXXXXX –client-id –use-cognito-provided-values)
- Clean the MCP authorization cache : delete files under %USERPROFILE%.mcp-auth
- Define you yaml role file like below for example (roles.yaml) :
roles:
  vendeur:
    - startOrder
    - addItemToOrder
    - confirmOrderItems
    - setDeliveryAddress
    - chooseDeliveryOption
    - choosePaymentMethod

  superviseur:
    - validateOrder
    - sendConfirmationEmail

  admin:
    - "*"
- Restart the mcp server (with the server.py file including cognito features) in a command line.
set MCP_TRANSPORT=http
set MCP_AUTH=cognito
set COGNITO_REGION=eu-west-1
set COGNITO_USER_POOL_ID=eu-west-1_XXXXX
set COGNITO_CLIENT_ID=<clientid>
set COGNITO_CLIENT_SECRET=<clientsecret>
set MCP_PUBLIC_URL=http://localhost:8000
set XPI_BASE_URL=http://localhost:6443
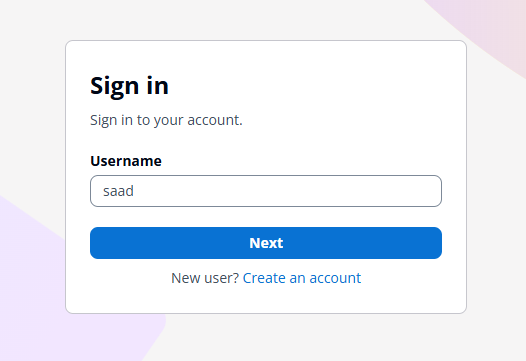
python C:\MCP\magic_xpi_mcp\server.py- In the amazon cognito console, verify verify the login pages
- Check in another command line that you can access the mcp server : npx mcp-remote http://localhost:8000/mcp
- You should receive the screen below after the login screen to get an authorization code
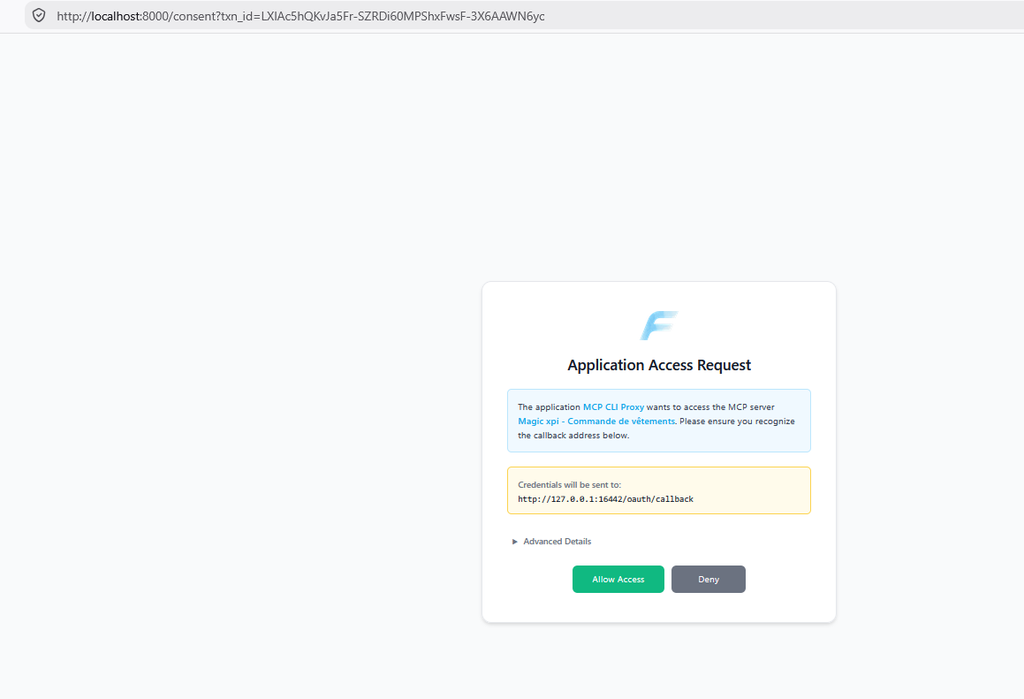
and then

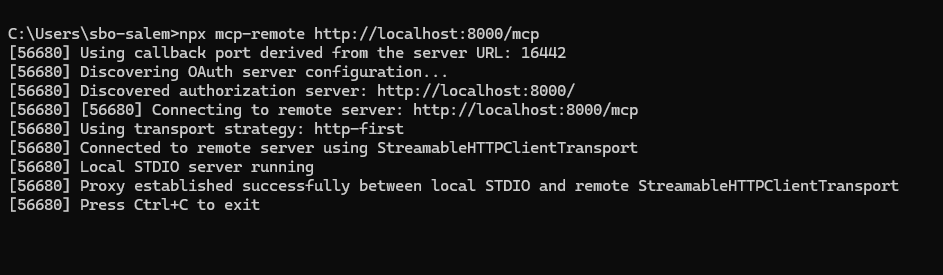
- If it’s working you can add In the claude desktop config json file this part below (c:\users\<usersession>\appData\roaming\Claude\claude_desktop_config.json )
"mcpServers": {
    "magic-xpi": {
      "command": "npx",
      "args": [
        "mcp-remote",
        "http://localhost:8000/mcp"
      ]
    }
},- Stop completely your Claude Desktop and clean the mcp authorization cache (delete files under %USERPROFILE%.mcp-auth)
- Restart your Claude Desktop, it will connect automatically to your MCP server through the previous login page.
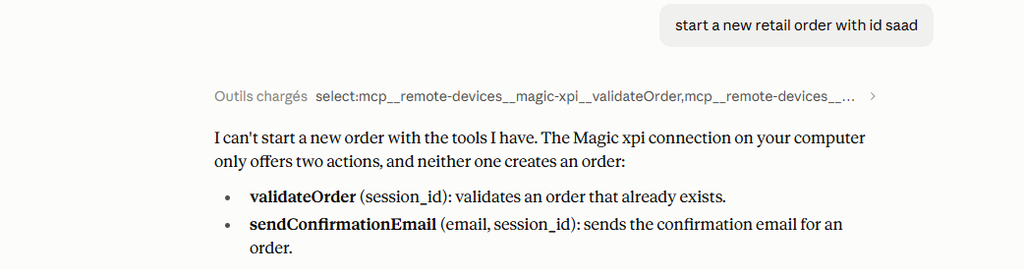
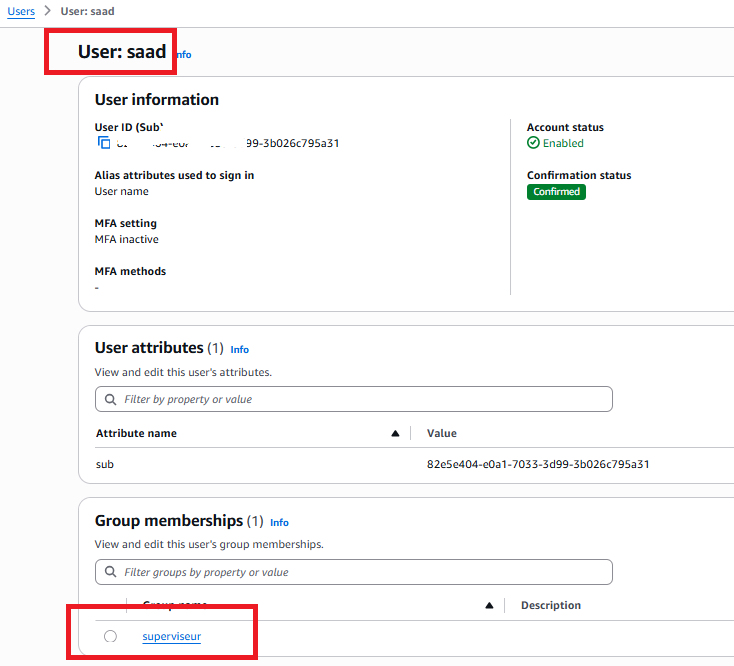
- If you sign in with the user that is part of « superviseur » cognito group (that does not include the startOrder right) then you can get this message